Steps to create a WhatsApp Bot

Written by Medha Anand
Updated on October 29th, 2021
- Getting Started
- Bot Building
- Smart Agent Chat
- Conversation Design
-
Developer Guides
Code Step Integration Static Step Integration Shopify Integration SETU Integration Exotel Integration CIBIL integration Freshdesk KMS Integration PayU Integration Zendesk Guide Integration Twilio Integration Razorpay Integration LeadSquared Integration USU(Unymira) Integration Helo(VivaConnect) Integration Salesforce KMS Integration Stripe Integration PayPal Integration CleverTap Integration Fynd Integration HubSpot Integration Magento Integration WooCommerce Integration Microsoft Dynamics 365 Integration
- Deployment
- External Agent Tool Setup
- Analytics & Reporting
- Notifications
- Commerce Plus
- Troubleshooting Guides
- Release Notes
Table of Contents
Design the botBuild the bot on Haptik PlatformStage 1: Create a New BotStage 2: Create a Skill and Skill SetStage 3: Create StepsStage 4: Add User MessagesStage 5: Add Bot ResponsesStage 6: Add EntitiesStage 7: Create ConnectionsIn this section, we will see how to begin the designing of a WhatsApp bot, how to build the bot on the Conversation Studio tool of Haptik Platform and how to deploy the bot so users can start sending messages to your business.
Design the bot
Well, when it comes to creating a WhatsApp IVA, the first and foremost consideration is design. There are a lot of UX considerations to keep in mind while designing an automated experience for WhatsApp.
Some tips to start with:
- WhatsApp is a user-focused platform, users have the power to block or report a business number.
- Start small: Start with the burning customer issues which can be resolved in a transactional manner with a quick resolution on WhatsApp. These use cases will help maintain a high-quality rating from the users
- Design a conversational experience for the user. It’s WhatsApp, after all.
- Enrich the customer experience by using media messages (photos, videos, etc.) to drive higher engagement
- Ensure valid human escalation paths - Businesses without a valid human escalation path may become red in terms of quality rating and will see the phone number Status is Flagged. Valid escalation paths include human agent handoff in a thread, phone number, email, web support form, or prompting the user for an in-store visit
Build the bot on Haptik Platform
Stage 1: Create a New Bot
We will start by creating a new bot on the platform.
- Login to the Haptik platform, and start by creating your IVA. Click here to know more about building your bot.

Stage 2: Create a Skill and Skillset
After creating a new bot, create a new Skillset within the bot. Within the Skillset, create a new Skill. Every Skill handles one use case. To know more about Skill, click here.
Stage 3: Create Steps
Steps are the interlinked building blocks of a bot. Each step acts like a gatekeeper that detects user inputs, sends out appropriate responses, and directs users to the next step.
Steps are composed of several important sub-components, which house important pieces of information - User Messages, Bot Responses, Entities, and APIs.
To know more about Steps, click here.
Stage 4: Add User Messages
User Messages are the inputs from the user that the agent needs to interpret the user’s goal. It is important to add and train the bot with a variety of different sample user messages for each step, so that the bot can identify the correct intents and extract entities from the user utterance.
Whenever a user sends a message, we try to understand what the user is trying to say using various Machine Learning algorithms and find the corresponding step. One of the key modules which is used for step identification is the Intent Detection module.
To know more about adding user messages, click here.
Stage 5: Add Bot Responses
Bot Response is where a Step stores the replies that are sent in response to the user's message.
To know more about Bot Responses, click here.
Because of the platform limitations, many HSL elements from the Conversation Studio tool will not work on WhatsApp.
Here's the list of HSLs that are currently supported:
- Raw Text/JSON
- Image HSL
- Quick Replies
- Buttons
You can read more about Buttons and Lists here.
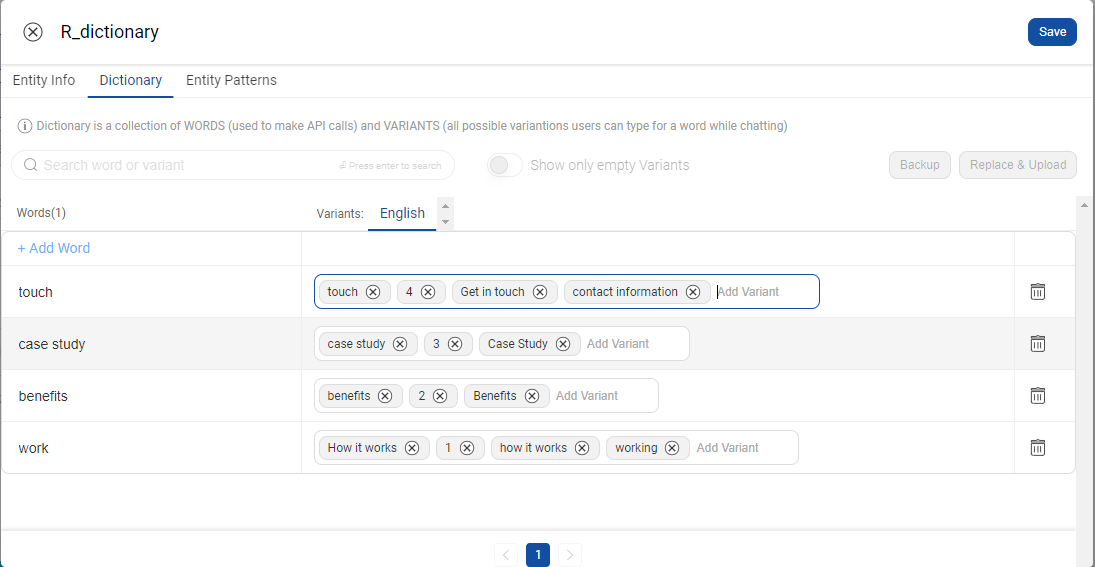
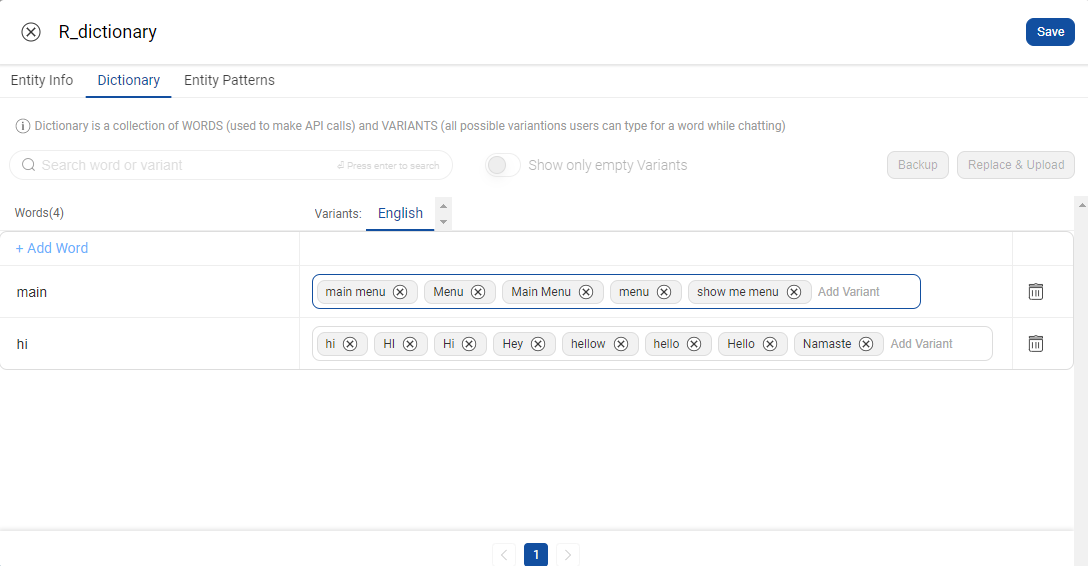
Stage 6: Add Entities
An entity represents values that are collected from the user in a conversation. Depending on the context of the conversation, the required response can either be a single value or a group of specific values.
For attachment type entities, WhatsApp can compress images and send compressed images to Haptik. Haptik stores the received image to S3.
You can fetch user's name and phone number from WhatsApp.
There are system entity that can fetch these values from the user's profile.
Use _completion_phone_number_ to fetch user's phone number and _username_ to fetch the user's profile name.
Add the entities on the first step of the bot and mark them as non-mandatory. Read here to know more about entities.
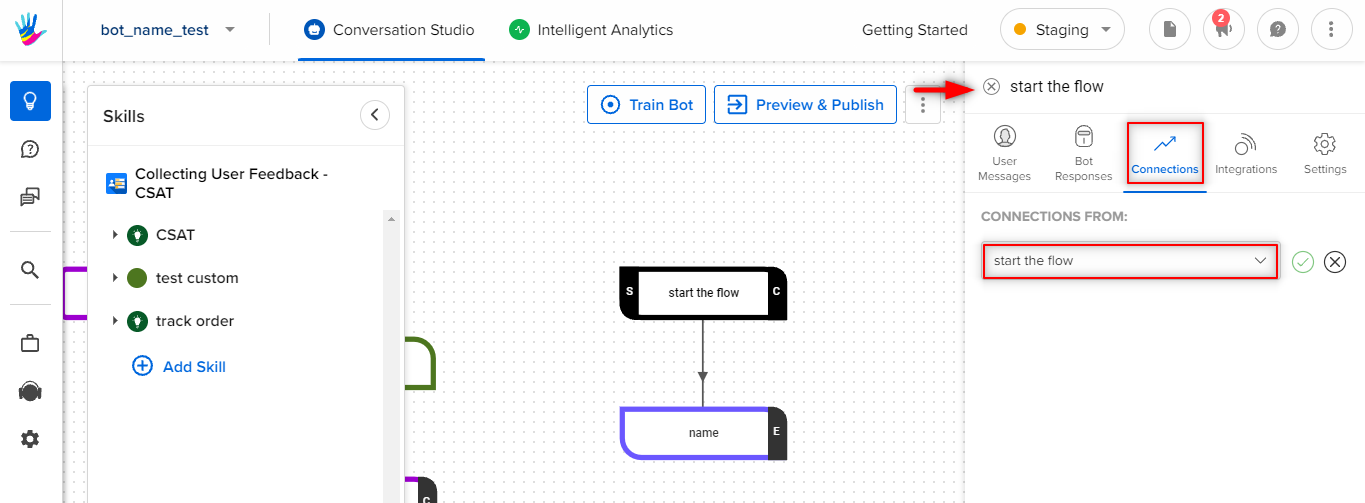
Stage 7: Create Connections
Connections represent the path a conversation takes from step to step. Depending on the response a user inputs to the bot, they traverse down a different connection to the appropriate next step. Bot builders must modify every connection they create to indicate which user inputs correspond to which steps.
The feedback module does not work on the WhatsApp bot due to UI limitations.
Follow our Quality Assessment section to test the bot.
Once the bot is tested, we will deploy the bot on WhatsApp using Platform Deployment under Business Manager of Conversation Studio.
