How to deploy Haptik's bot on Google Business Messages?
- Getting Started
- Bot Building
- Smart Agent Chat
- Conversation Design
-
Developer Guides
Code Step Integration Static Step Integration Shopify Integration SETU Integration Exotel Integration CIBIL integration Freshdesk KMS Integration PayU Integration Zendesk Guide Integration Twilio Integration Razorpay Integration LeadSquared Integration USU(Unymira) Integration Helo(VivaConnect) Integration Salesforce KMS Integration Stripe Integration PayPal Integration CleverTap Integration Fynd Integration HubSpot Integration Magento Integration WooCommerce Integration Microsoft Dynamics 365 Integration
- Deployment
- External Agent Tool Setup
- Analytics & Reporting
- Notifications
- Commerce Plus
- Troubleshooting Guides
- Release Notes
Table of Contents
Setting up Google Business Messages1. Create Brand2. Create an Agent3. Manage Location4. Verify agents and location5. Launch locations and agents6. Entry Point7. Live Agent RequirementsSetting up a bot on HaptikConfigure channel as Google Business MessagesThe way we communicate has changed, 75% of consumers now prefer to engage with a brand over private messaging channels versus traditional channels. Google Business Messages can help route calls to chat, increase sales, and improve customer satisfaction with CSAT data and feedback.
You can know more about the UI elements supported on Google Business Messages, here.
Google Business Messages is a mobile conversational channel that combines entry points on Google Maps, Search, and brand websites to create messaging experiences that delight customers and drive business results. It also facilitates the connection between the user and a brand. When a user searches for your business name or tries to search for your business' contact information, they will be able to see a chat option as MESSAGE as shown below -
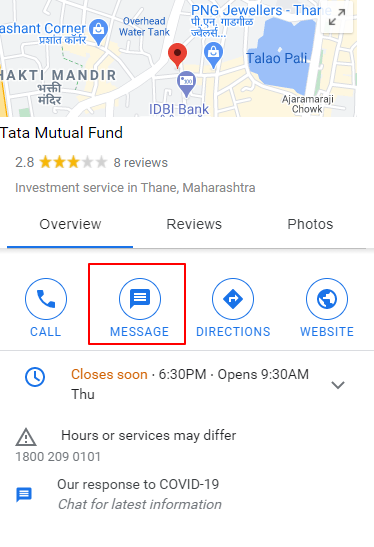
All GBM entry points (non-local and location-based) are available on android. Only location-based entry points are available on iOS.
Once the user clicks on the MESSAGE option, a conversational screen opens up and the user can start sending their messages.
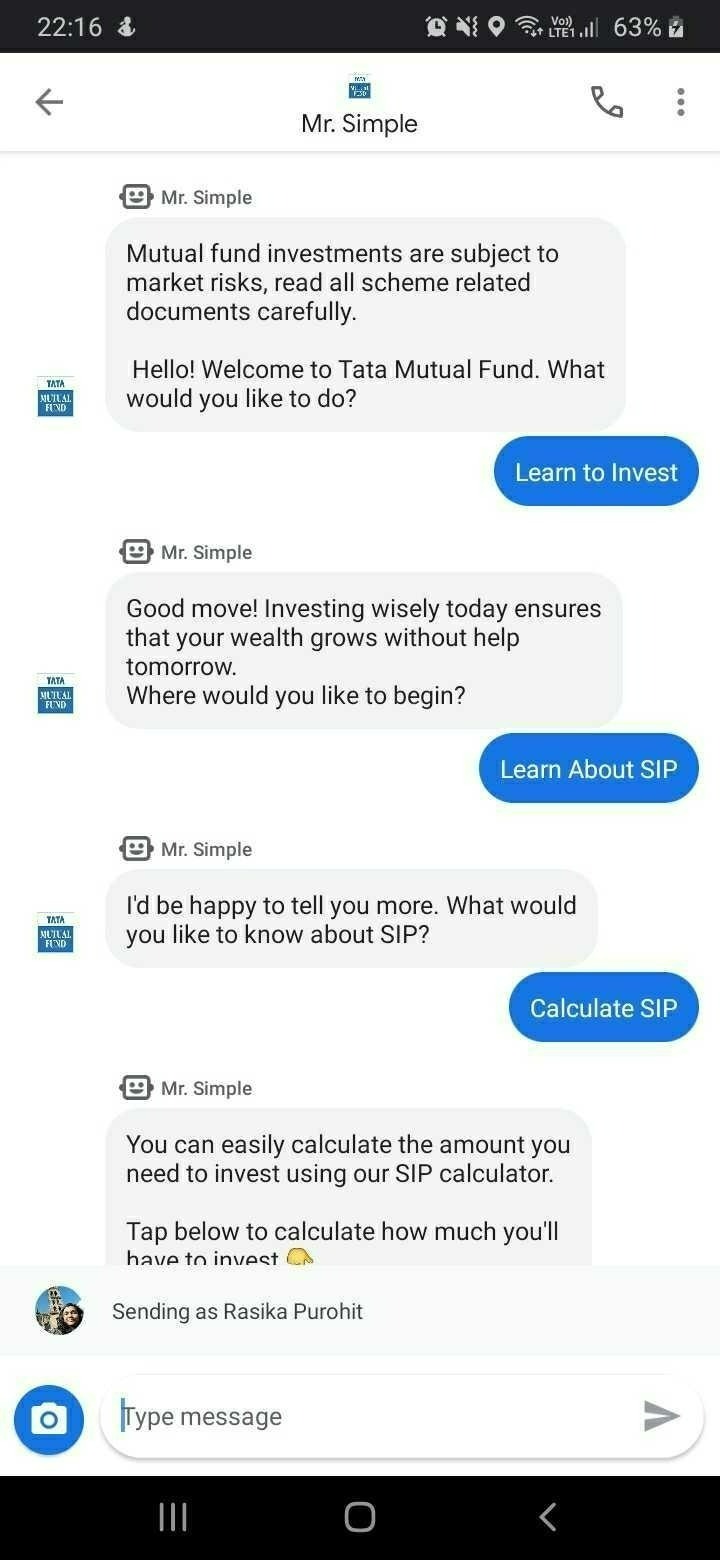
To know more about Google Business Messages, click here.
Haptik is a registered Partner with Google Platform.
Setting up Google Business Messages
1. Create Brand
Brand is the business name. For example, if Jio wants to set up a Google Business Messaging system, we will create a brand named Jio. Brand represents the business. A brand can be created using the Business Communications Developer Console.
As a registered account, Haptik will be creating the brand for your business.
2. Create an Agent
An agent means Haptik's Intelligent Virtual Assistant (IVA). The agent represents the brand i.e. the business, with which users will be having a conversation. Agents are managed by Haptik (account).
To know more about creating brands and agents click here.
3. Manage Location
If your business is active in various locations, it can be associated with the agent (IVA). This enables users to have a conversation with your brand specific to the location. Google Business Messages identifies locations by Place ID.
There are a few prerequisites to manage location -
- The brand should have a Google my business account.
- The physical location should be present in the brand's Google my Business page and should be verified.
- If there are multiple locations for your business, they need to be added to the same Location Group. This location group is present in the Google my Business Console. To read more about managing multiple locations, click here.
- Locations are identified by Place ID. A place ID is a unique identifier for a particular location on Google Maps. For multiple locations, we can use a single place ID from one of the locations in the location group. To know more about finding out Place ID, click here.
4. Verify agents and location
Before we go live with the Google Business Messages integration we need to verify the agent with Google and the brand.
The brand SPOC receives an email with the subject: Please approve brand name used for Business Messages.
Once the brand SPOC replies to this email, Google does a manual verification where they check if the agent is associated with the brand or not. In case the agent logo or name is different from the brand name or logo, the verification might be rejected. In such a case, SPOC will have to follow up with Google to get the verification completed.
To know more about the verification process, click here.
5. Launch locations and agents
Once the agent is verified for a brand, you can start the development of the IVA using Haptik's Conversation Studio. When the agent is launched, Google Business Messages does a quick round of checks for all required approvals. After the requirements are met, the agent becomes available for the users within a few hours.
To know more about launching the agent, click here.
To know more about launching locations, click here.
To know in detail about setting up the Google Business Messages, click here.
6. Entry Point
Google Business Messages has entry points from organic Google search results on mobile browsers and from the Google Maps app (for location-based brands). Entry points are surfaces where users can start conversations with Business Messages agents. Each entry point has a unique appearance and appears in a different place.
You need to configure all entry points you want to launch your agent on before you verify your agent.
There are two types of entry points:
- NON_LOCAL Entry Point
- Location Based Entry Point
1. NON_LOCAL Entry Point
This entry point does not rely on location.
To enable non-local entry points -
- Update your agent with the NON_LOCAL entry point group, and specify values for fields in the NonLocalConfig object.
- Verify your agent.
Business Messages approves your agent for various entry points based on the information you specify in NonLocalConfig.
Note: You need to configure all entry points you want to launch your agent on before you verify your agent.
- Launch your agent.
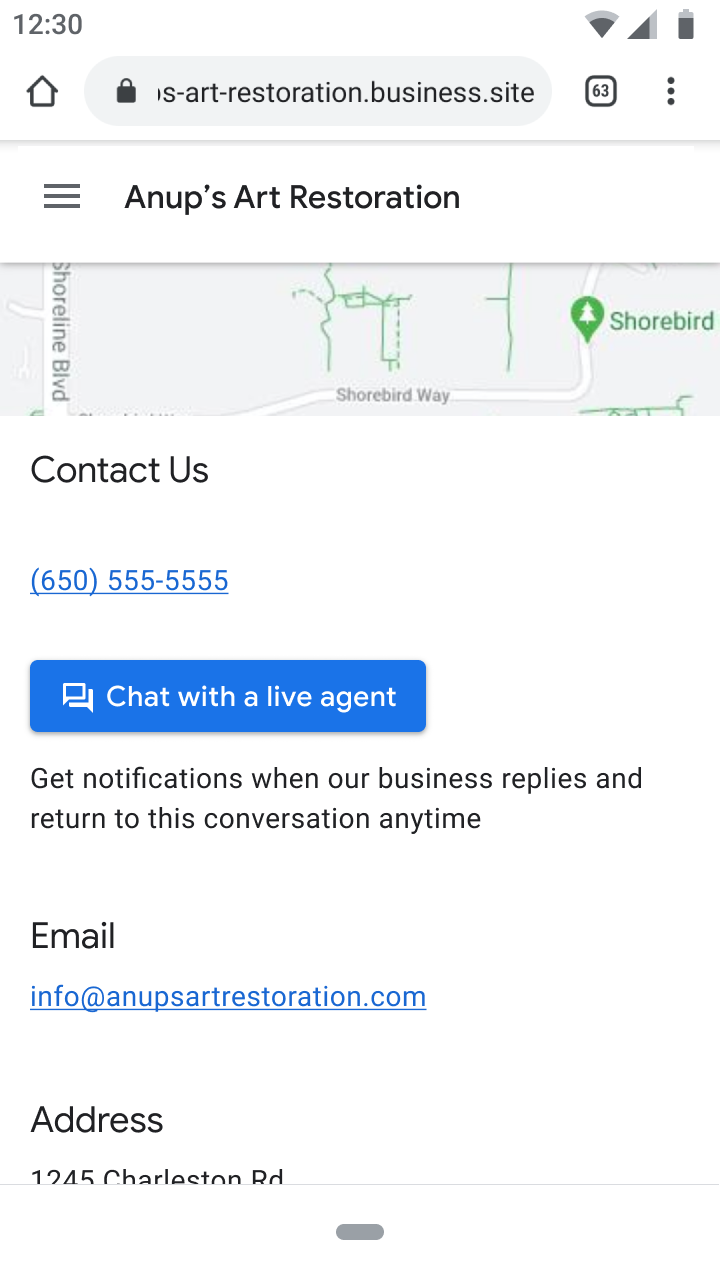
There are 4 different types of NON_LOCAL Entry Points.
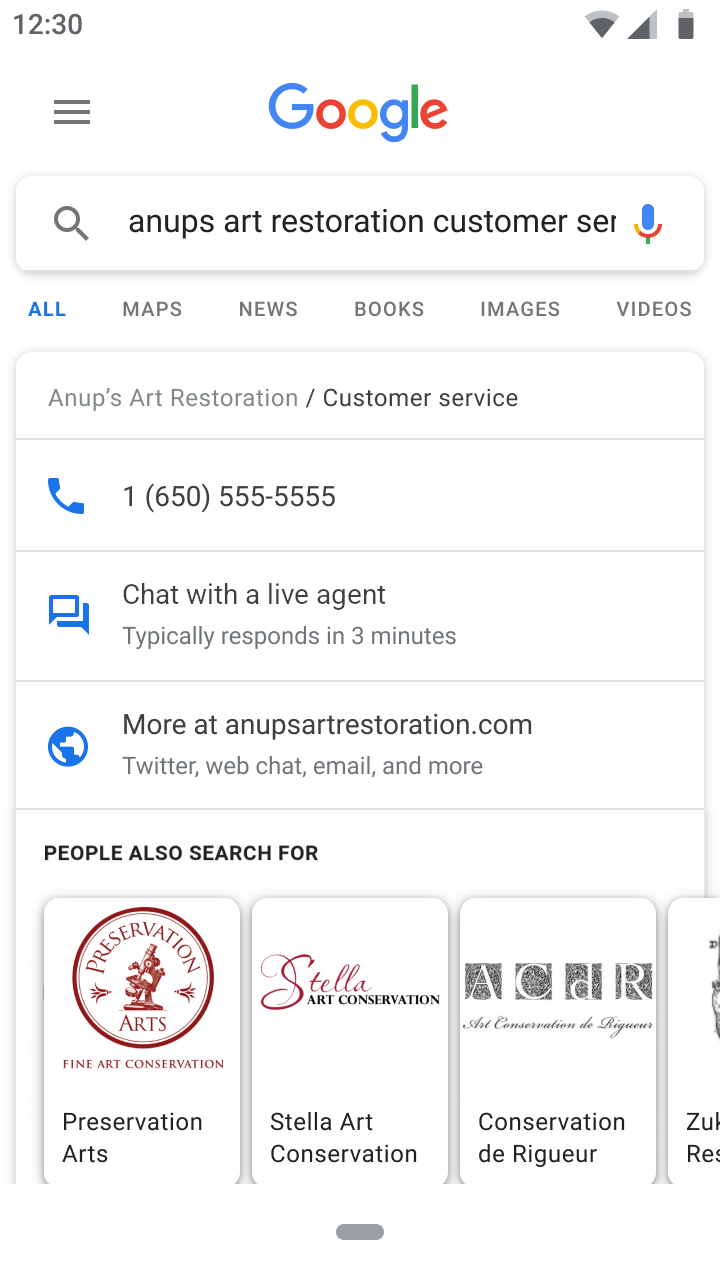
1. Featured snippets
This entry point enables conversations with your agent when a user finds contact details through Search.
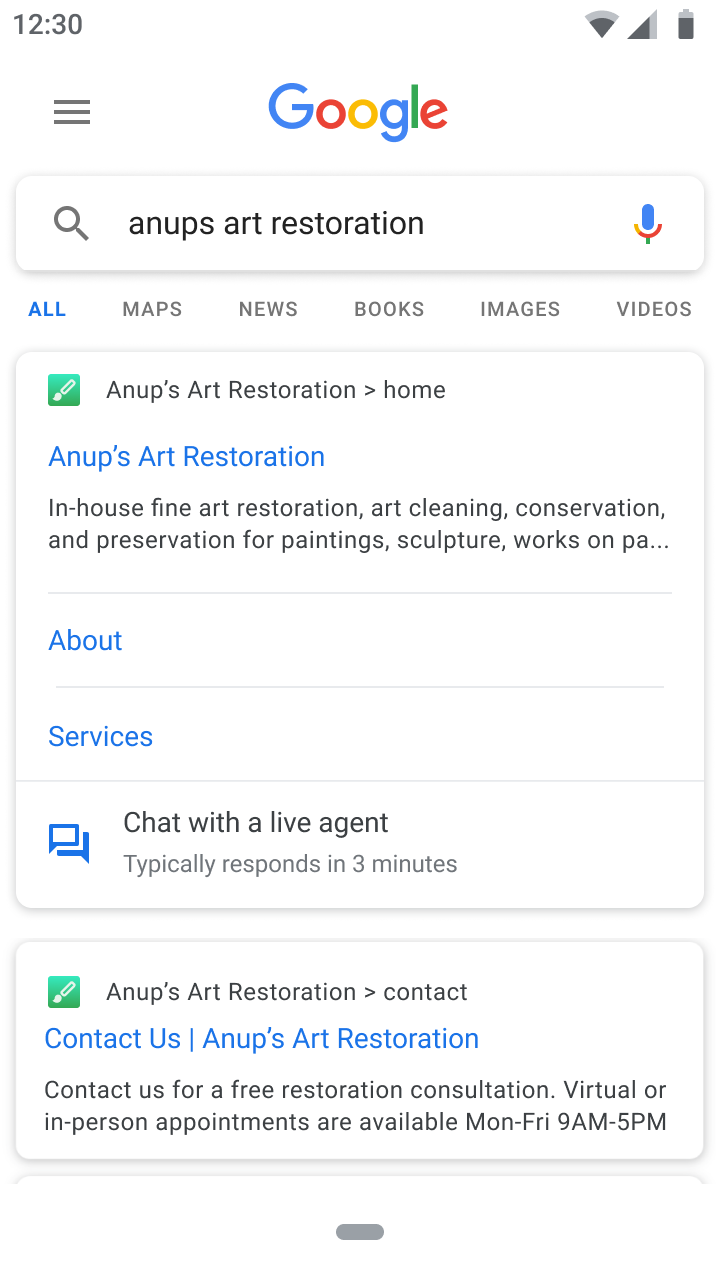
2. Sitelinks
This entry point enables conversations with your agent when sitelinks appear in Search.
3. URL
This entry point enables conversations from URLs in messages, links, or websites.
URL is supported on Android.
4. Widget
This entry point enables conversations from widgets you integrate with a website.
2. Location-Based Entry Point
The LOCATION entry point group encompasses entry points that rely on locations.
- Update the agent with the LOCATION entry point group.
- Verify the agent.
Note: You need to add all entry points you want to launch your agent on before you verify your agent.
- Launch your agent.
- Create a location, associate it with your agent, and add the MAPS and PLACESHEET entry points.
Note: You need to add all entry points you want to launch your location on before you verify your location.
- Verify your location.
- Wait for Business Messages to automatically import, associate, and verify other locations from the verified location's Location group in Google My Business.
- Launch your locations.
There are 3 major ways you can set Location-Based Entry Points -
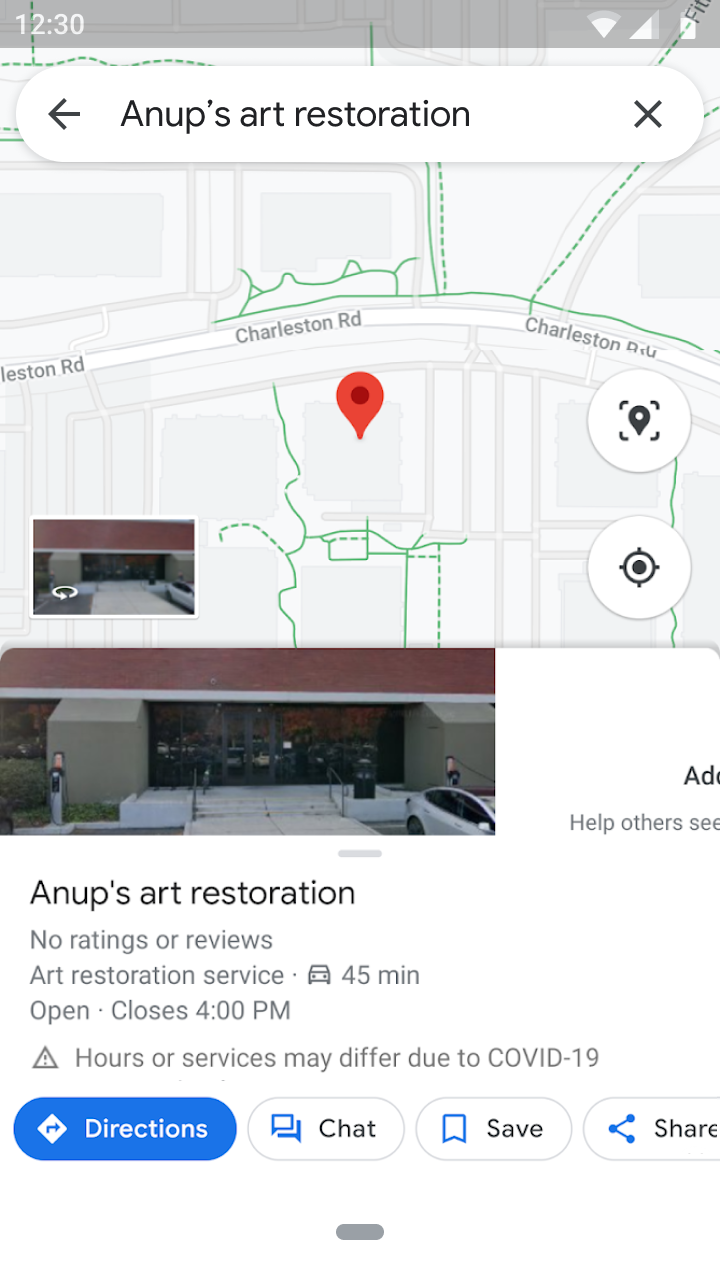
1. Maps
This entry point enables conversations with locations associated with your agent from the Maps app (Android and iOS).
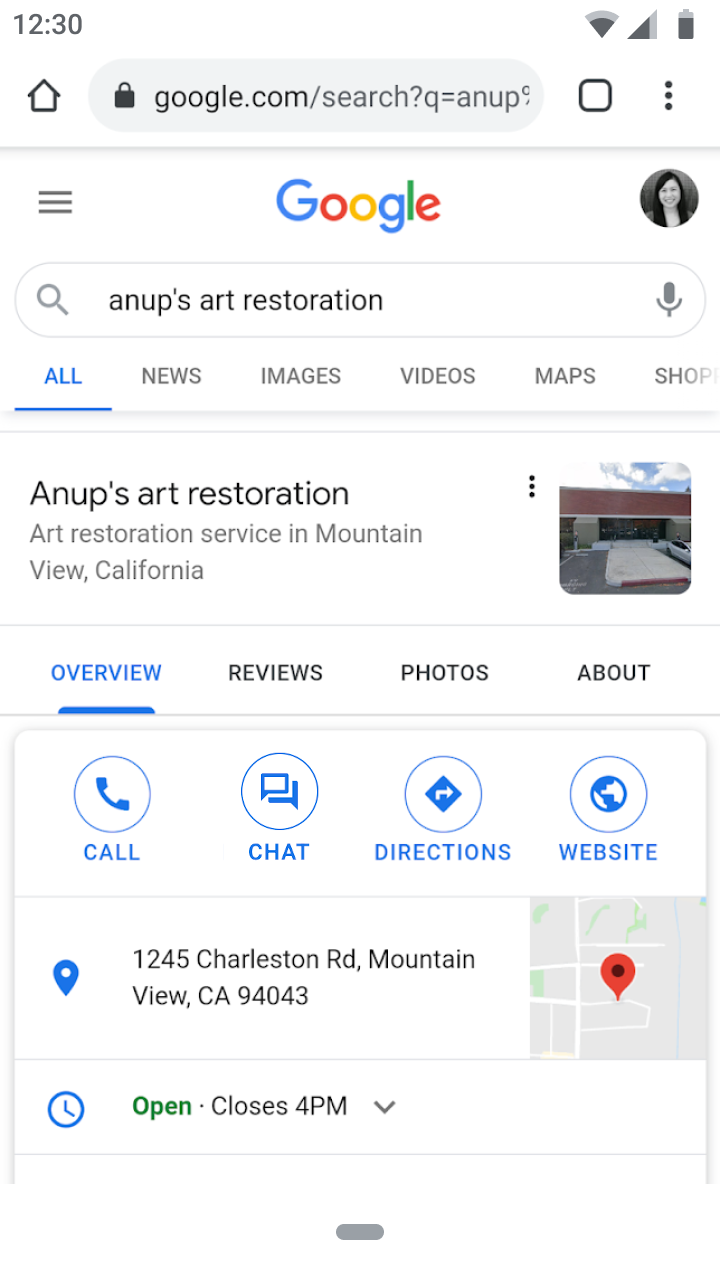
2. Placesheet
This entry point enables conversations with locations associated with your agent when a user finds the location in Search.
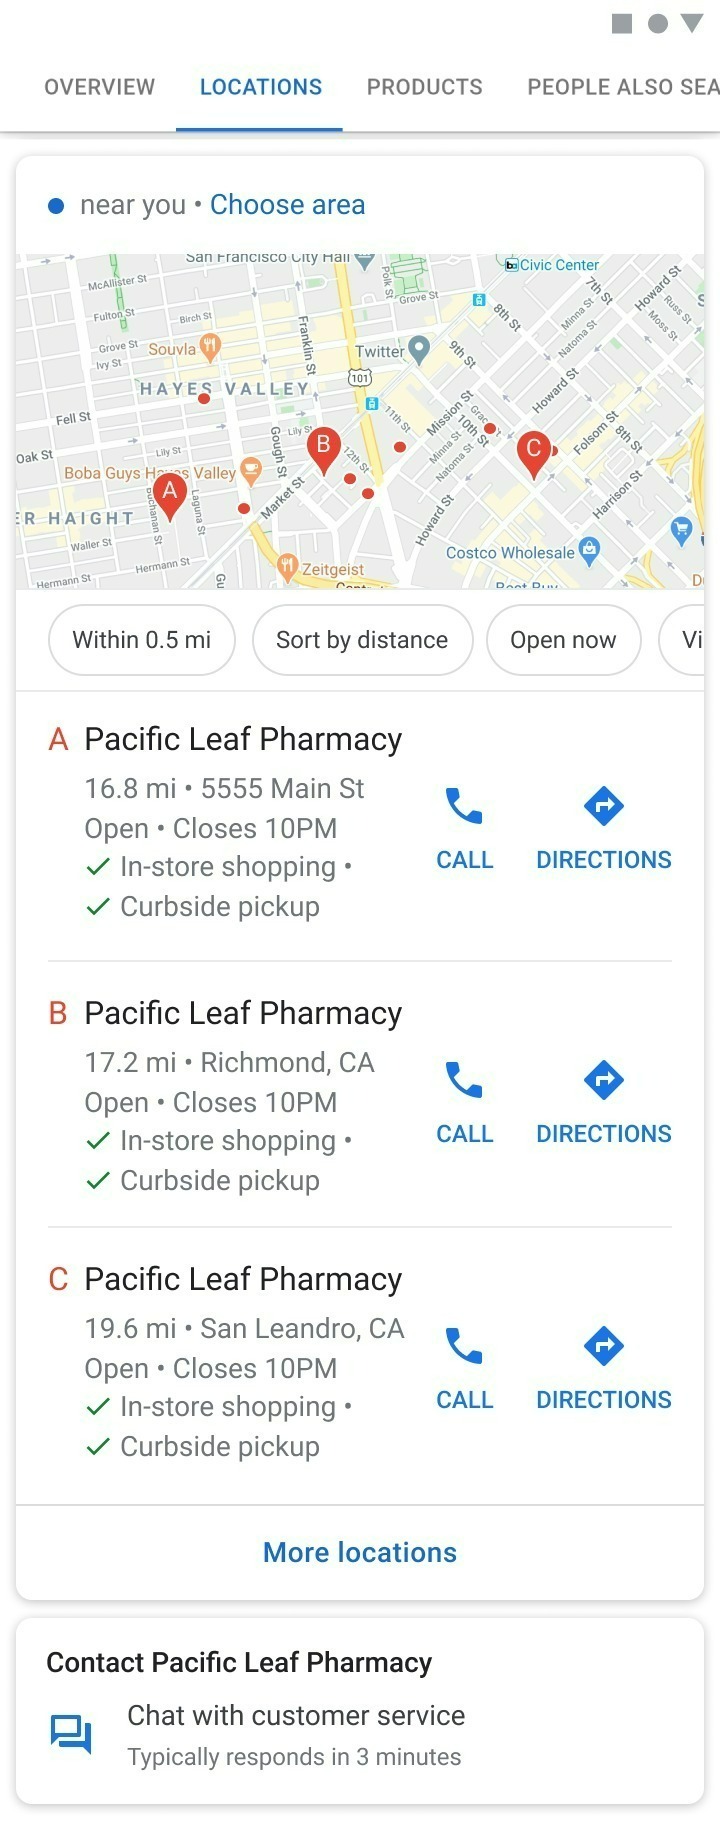
3. Local Pack
When a user's search results include multiple nearby locations, the LOCAL_PACK entry point displays a messaging button below the list of locations. Additionally, LOCAL_PACK enables messaging for a location when the location is closed and can't answer calls.
To know more about Entry Point, click here.
7. Live Agent Requirements
It is mandatory to have a live agent solution at all entry points except website and URL entry points
- Open the Business Communications Developer Console and sign in with your Business Messages Google account.
- Choose the agent.
- In the left navigation, click Agent information.
- Under Primary and secondary interactions, set bot and human messaging availability.
- For Primary interaction, set Interaction type to Bot.
- If bot messaging isn't always available, uncheck Always available and specify the available days, times, and timezone. To add more availability times, click Add availability.
- Click Add secondary interaction, and set Interaction type to Human.
- If human messaging isn't always available, uncheck Always available and specify the available days, times, and timezone. To add more availability times, click Add availability.
- If you have a live agent-only solution, then you should also configure an offline message that gets auto-triggered during their offline hours. This message can be configured from the Business Communications Developer console
To know more about updating message availability, click here.
Once the Google Business Messages is set up, we will now see the implementation of IVA on Haptik's Conversation Studio.
Setting up a bot on Haptik
You will have to set up a bot on Haptik, and once you have done that you will have to configure the Google Business Messenger with your Haptik bot. You can learn more about creating a Haptik bot, here.
Once you have created a bot on Haptik, you will have to configure the channel as Google Business Messages, on your bot.
Configure channel as Google Business Messages
For configuring Telegram as a channel, navigate to Business Manager > Channels > Platform Deployments, of your bot, as shown -
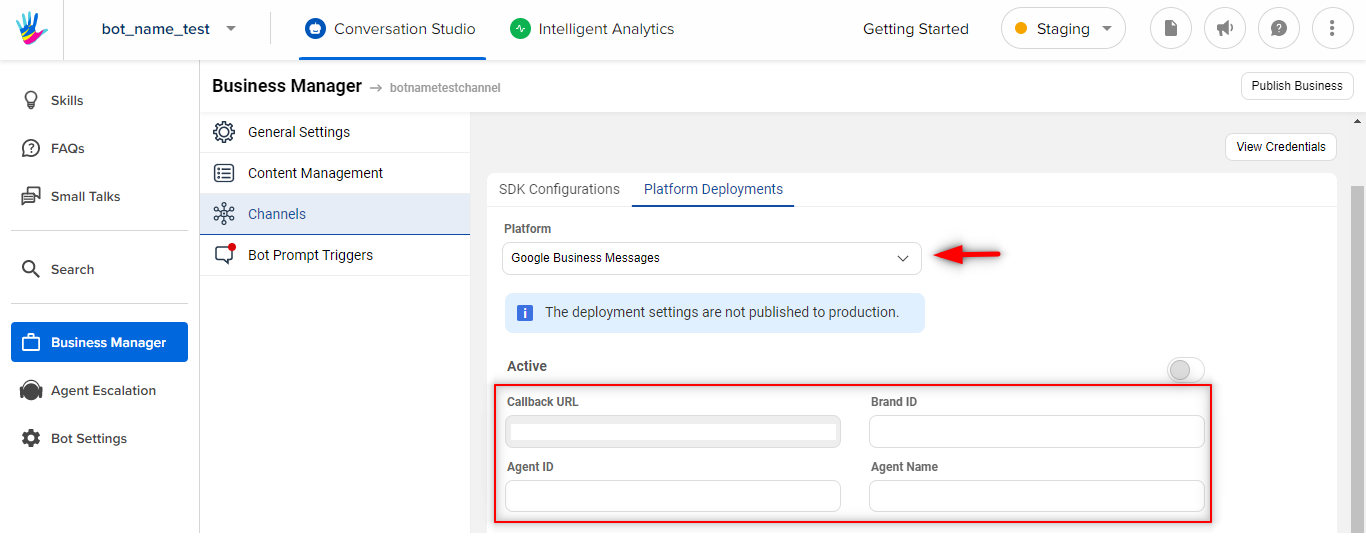
You will have to fill required data in these fields -
- Brand ID
- Agent ID
- Agent Name
You can contact Haptik SPOC for the details on this.
