Bulk Complete Chats Manually
- Getting Started
- Bot Building
- Smart Agent Chat
- Conversation Design
-
Developer Guides
Code Step Integration Static Step Integration Shopify Integration SETU Integration Exotel Integration CIBIL integration Freshdesk KMS Integration PayU Integration Zendesk Guide Integration Twilio Integration Razorpay Integration LeadSquared Integration USU(Unymira) Integration Helo(VivaConnect) Integration Salesforce KMS Integration Stripe Integration PayPal Integration CleverTap Integration Fynd Integration HubSpot Integration Magento Integration WooCommerce Integration Microsoft Dynamics 365 Integration
- Deployment
- External Agent Tool Setup
- Analytics & Reporting
- Notifications
- Commerce Plus
- Troubleshooting Guides
- Release Notes
Table of Contents
Step 1: Navigate to Complete Chats sectionStep 2: Select the BusinessStep 3: Select the Chat StateStep 4: Select the Start and End DateStep 5: Chat Completion Message (Optional)Step 6: Click on Complete ChatsThe Complete Chats section is a tool to complete/close all your open chats (chats can be in different states such as pending, waiting, or queued).
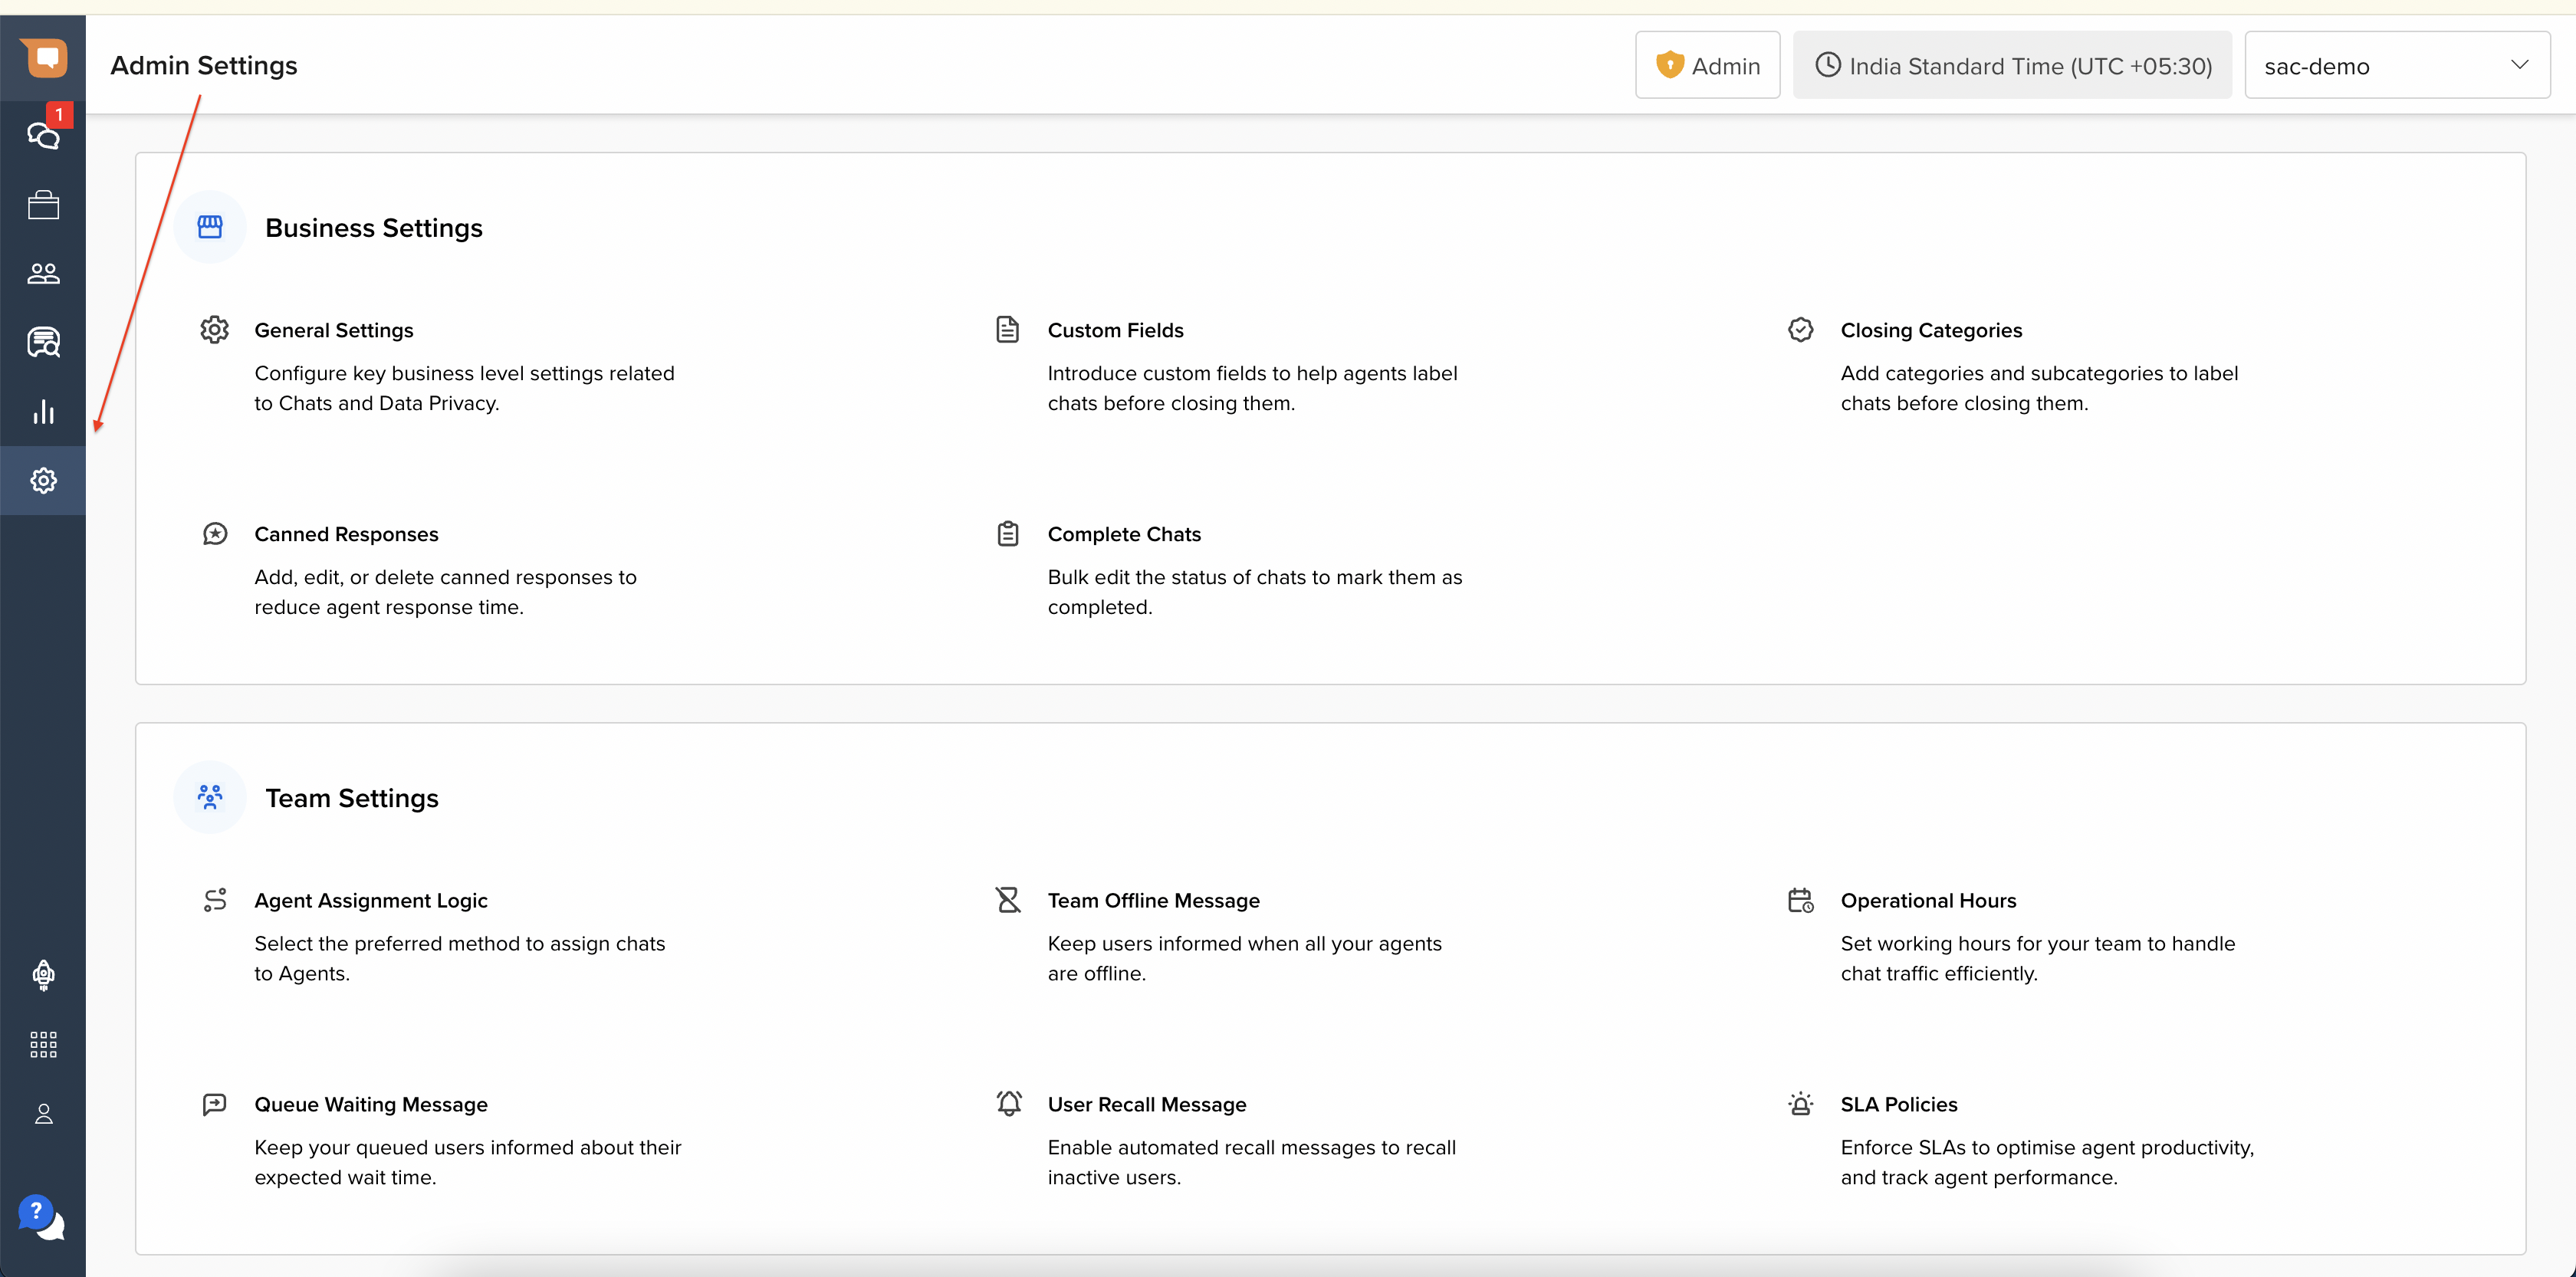
Step 1: Navigate to the Admin Settings page on the left navigation pane
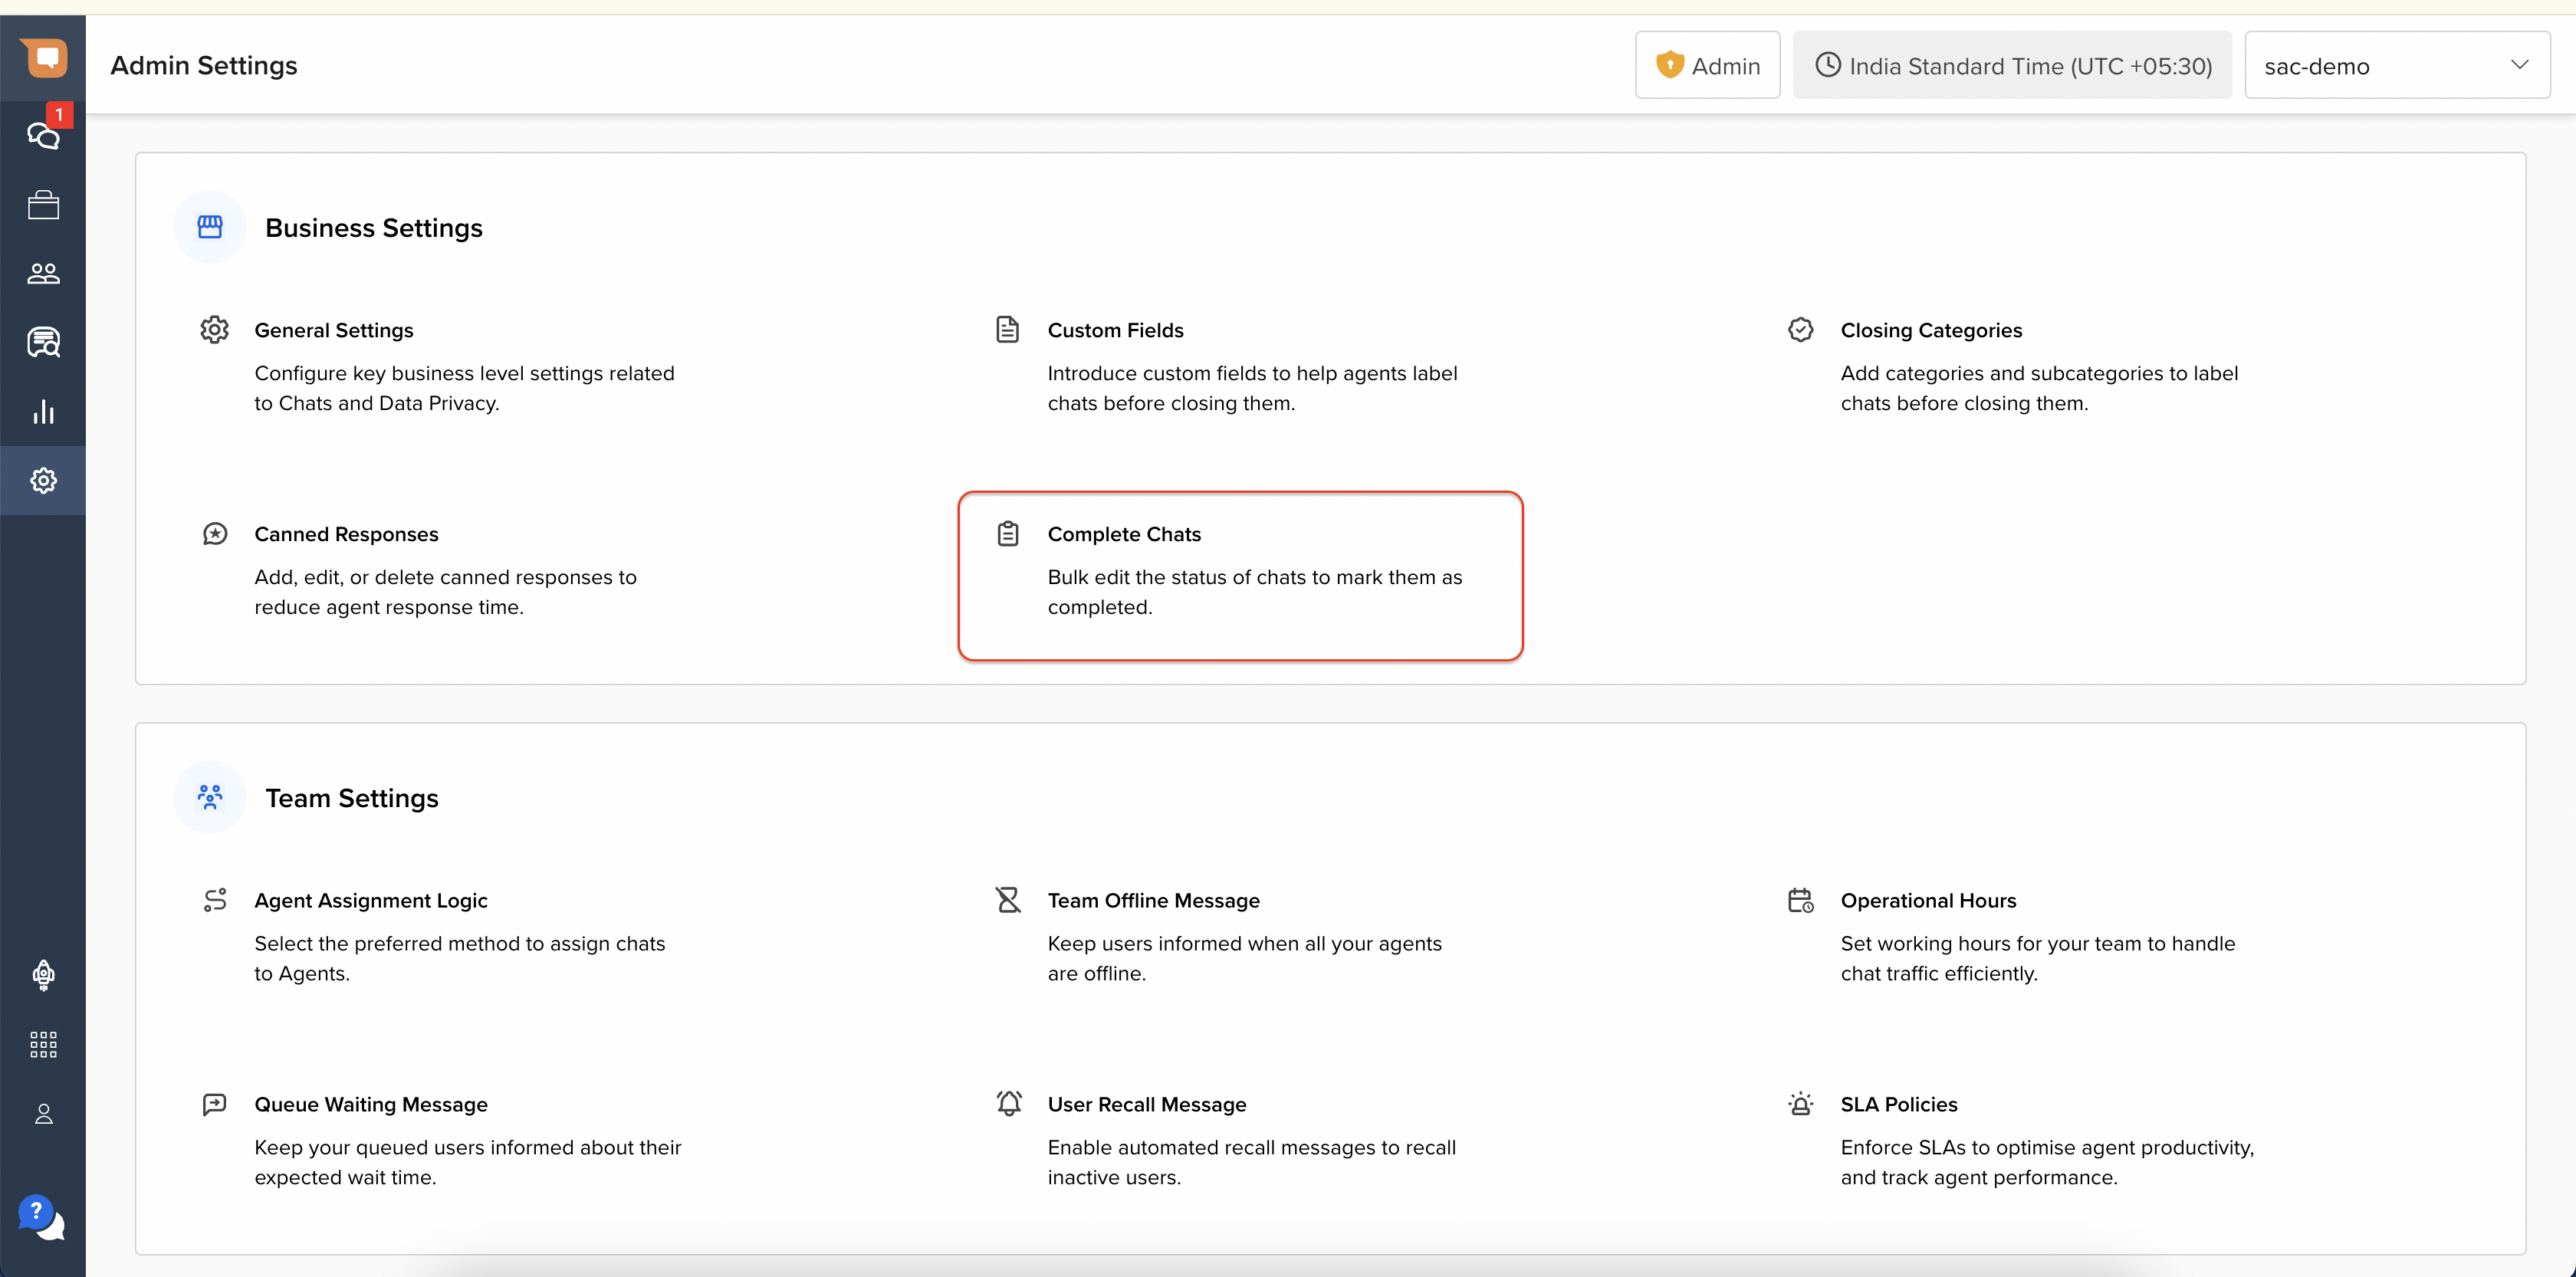
Step 2: Navigate to the Complete Chats section
Step 3: Select the Business
From the Business dropdown, you can select your business name.
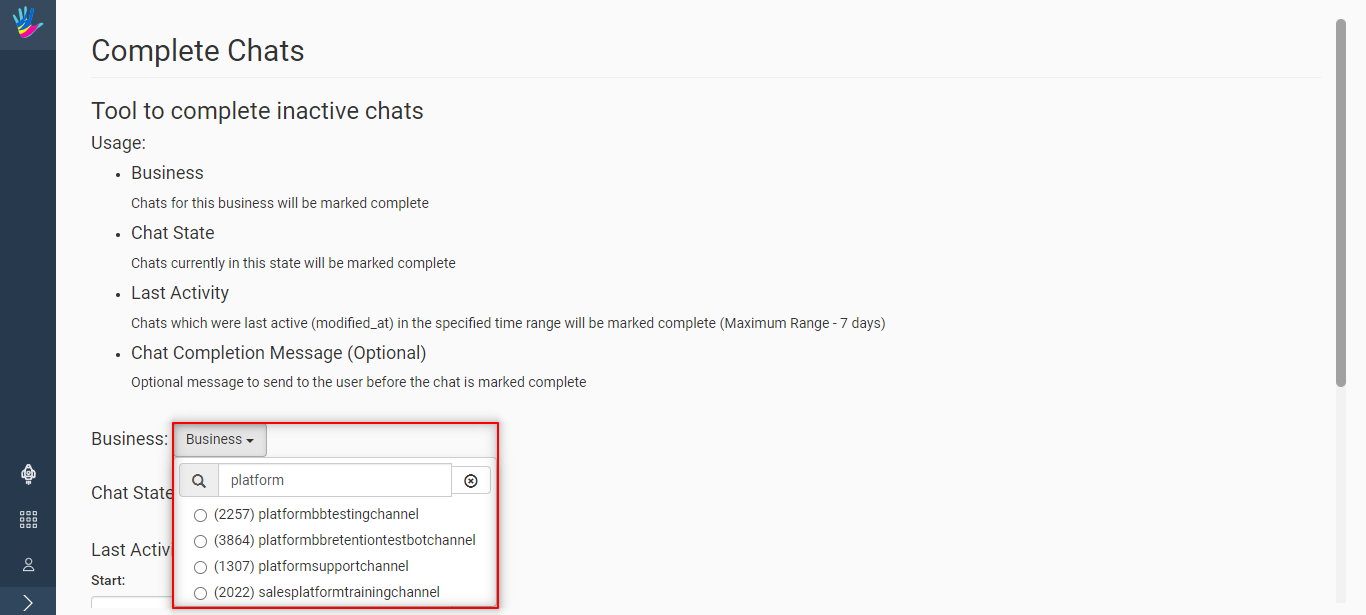
All your teams are a part of the same business.
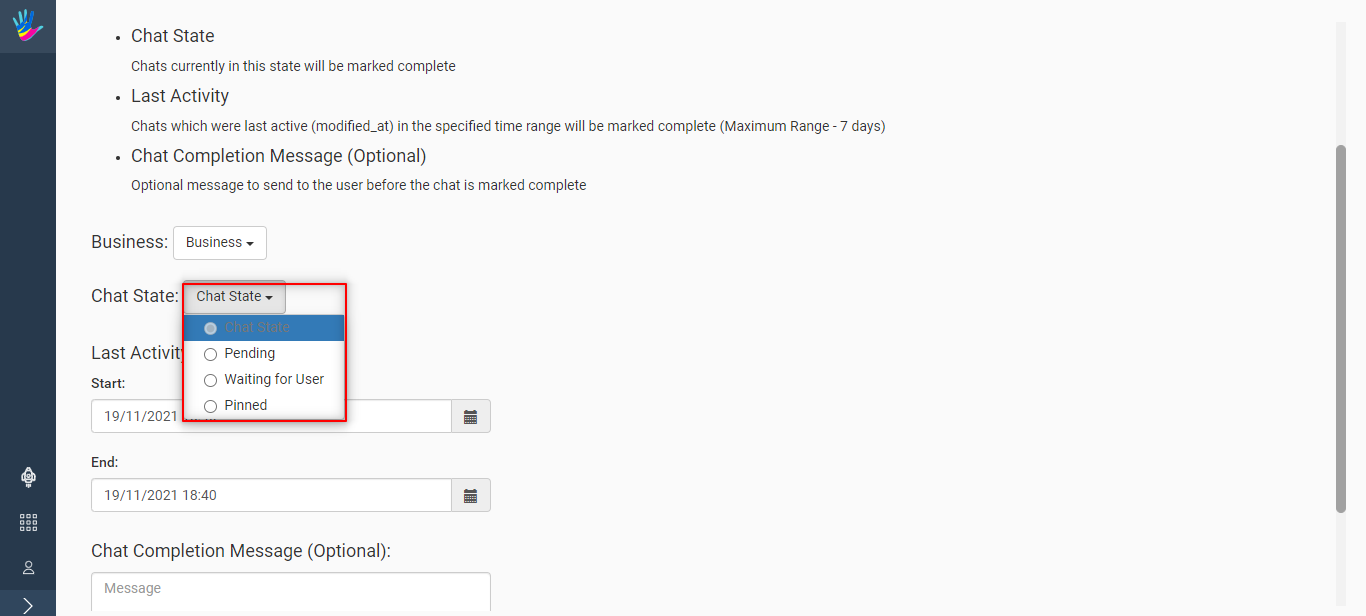
Step 4: Select the Chat State
You can choose to complete the chats which are in different chat states at the time.
- Pending - These are the chats in the queue and they are waiting for an agent to get assigned.
- Waiting for User - These chats are marked as Waiting by the agents.
- Pinned - These chats are currently assigned to an agent.
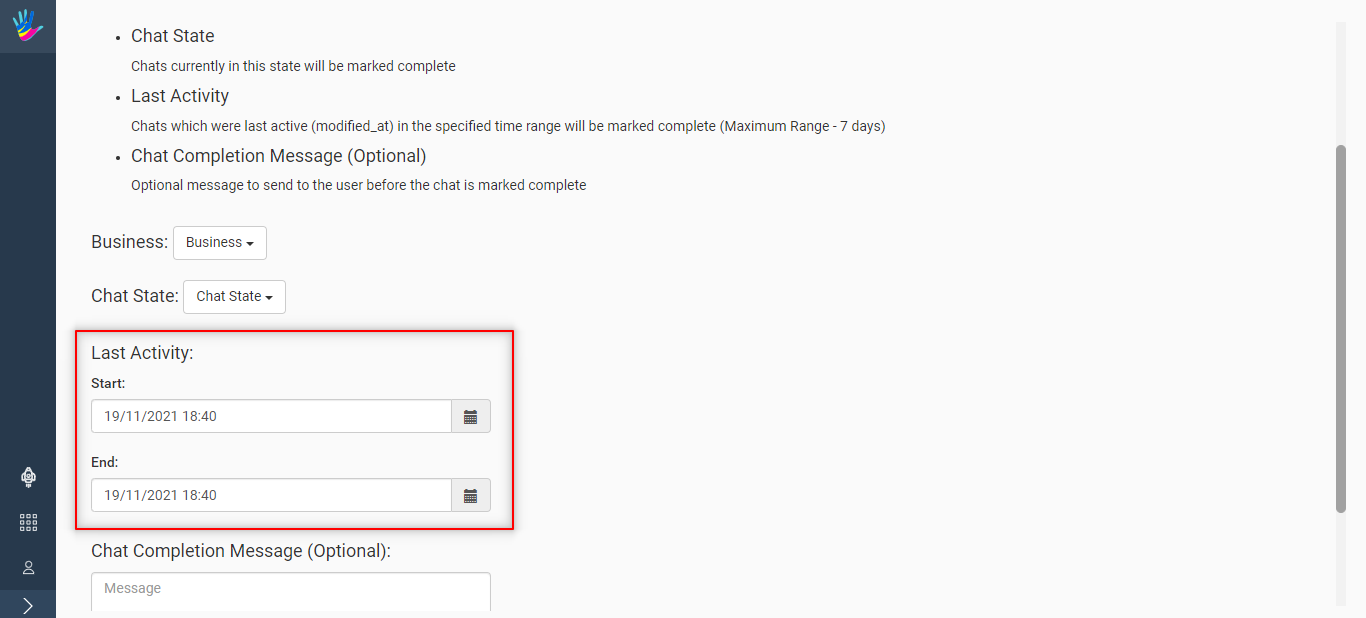
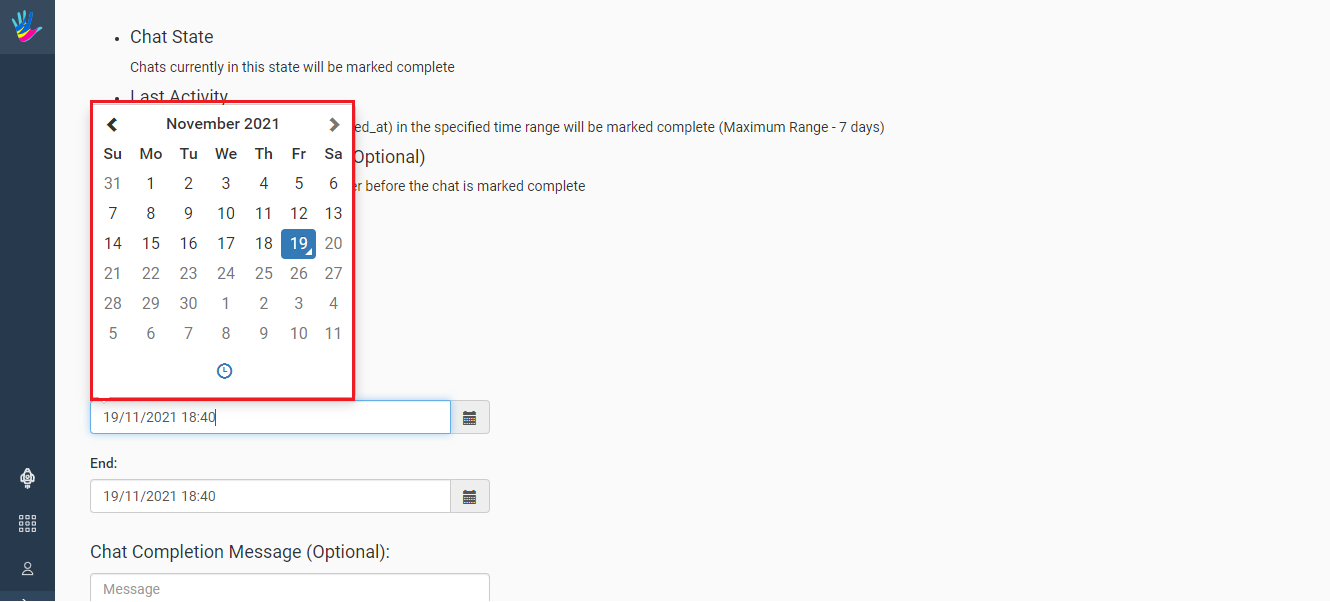
Step 5: Select the Start and End Date
You can choose the date as well as time from the widget to complete all the chats.
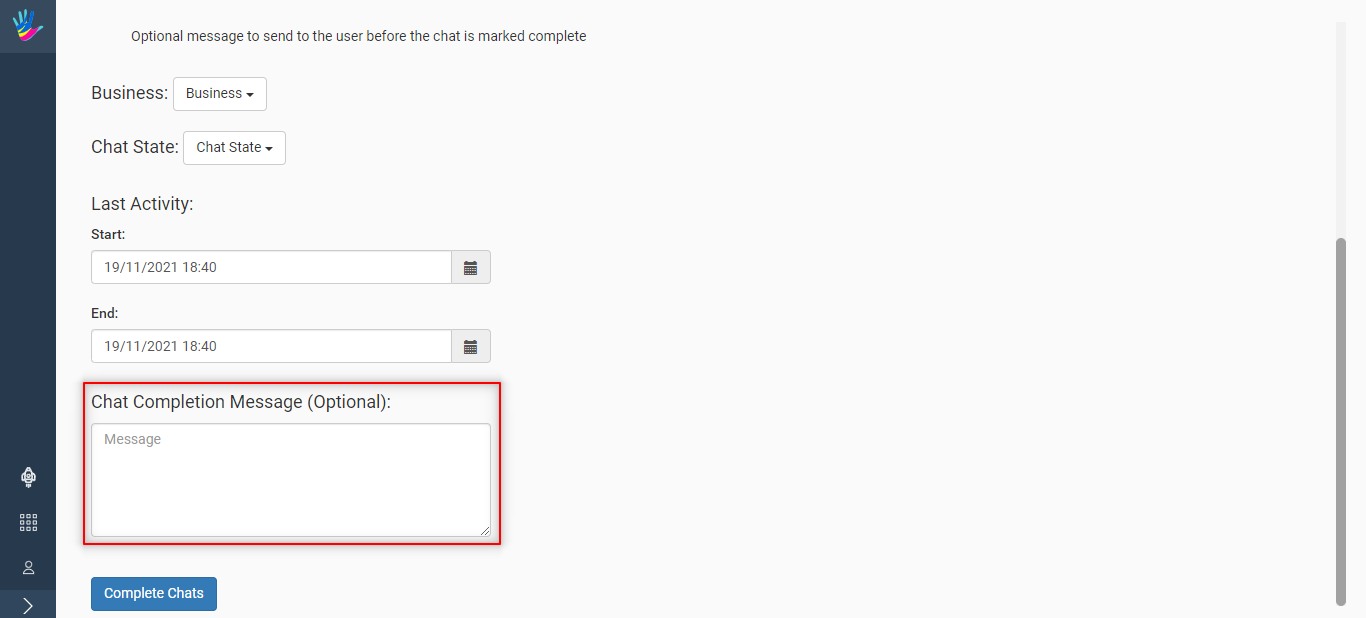
Step 6: Chat Completion Message (Optional)
This is an optional message that can be sent to users before completing the chats. This is usually useful in high traffic scenarios, where there is a known issue and the team is working on it. In this case, many users are waiting in the queue to get the same issue resolved.
This message can be sent to these users in the queue, and then the chats will be closed.
Step 7: Click on Complete Chats
Once you have selected the above details you can now click on the Complete Chats button.
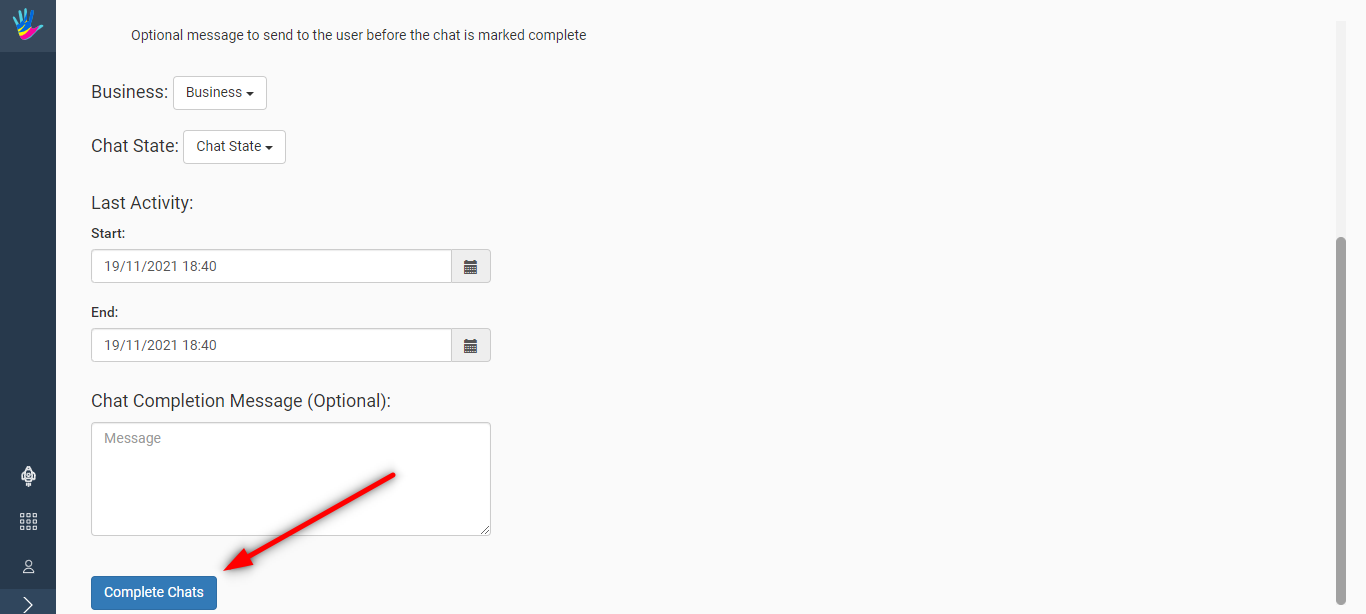
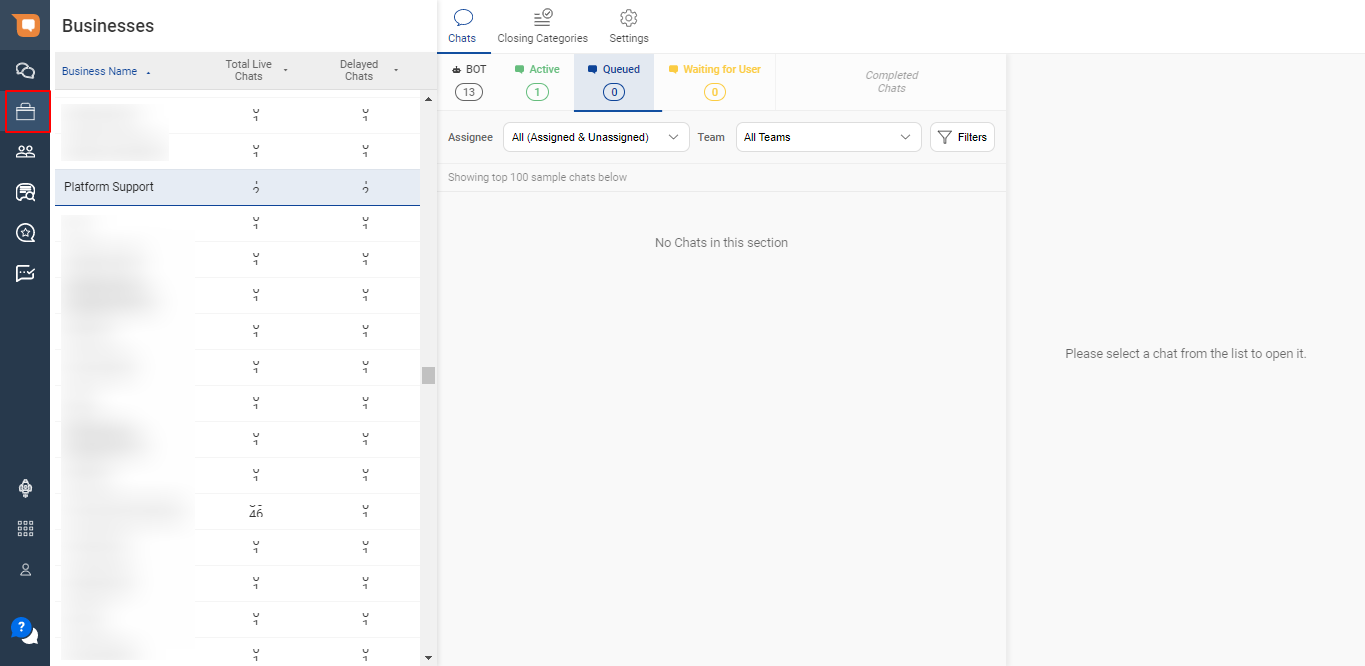
The bucket for the selected Chat State will be now empty. You can check this from the Chats tab of the Businesses section.
Example
Consider, you have a Pizza shop and have a bot on your website for taking orders and for connecting with your customers. Today, there are multiple customers who want to order Pizza, but today your shop is not making Pizza for some reason.
In this case, you have multiple customer chats, asking for pizza, and you will ideally have to give a reply to every individual customer stating the reason. Instead, you can select the chats of all the customers with the same query and use this Complete Chats feature.
You can add a message with it, that today your shop won't be serving pizzas, and you can just close the chats. This will close all the chats with common query and it will save your time as well.
