How to Set Up Shopify Integration
- Getting Started
- Bot Building
- Smart Agent Chat
- Conversation Design
-
Developer Guides
Code Step Integration Static Step Integration Shopify Integration SETU Integration Exotel Integration CIBIL integration Freshdesk KMS Integration PayU Integration Zendesk Guide Integration Twilio Integration Razorpay Integration LeadSquared Integration USU(Unymira) Integration Helo(VivaConnect) Integration Salesforce KMS Integration Stripe Integration PayPal Integration CleverTap Integration Fynd Integration HubSpot Integration Magento Integration WooCommerce Integration Microsoft Dynamics 365 Integration
- Deployment
- External Agent Tool Setup
- Analytics & Reporting
- Notifications
- Commerce Plus
- Troubleshooting Guides
- Release Notes
Table of Contents
Setting up Shopify accountStep 1: Register as a partnerStep 2: Create a New AppStep 3: Set up the Custom AppStep 4: Provide the keys on Haptik PlatformStep 5: Authenticate the AppShopify is now the leading commerce platform designed for businesses of all sizes. Shopify allows businesses to create their own stores online whether they are selling physical products, digital products, handing out rentals, and so on. Shopify provides the entire setup required for any online store.
You can integrate Haptik's bot onto the Shopify website which will help you enhance your customer experience. Haptik's bots are equipped to handle billions of customer queries which helps users to resolve their queries instantly.
Using Haptik Platform you can implement your bot within few clicks and allow your users to have a better engaging experience.
Haptik's bot will help the users to -
- Track their order
- Cancel their order
- Place a return request for their order
- Raise a concern
Haptik's bot is completely equipped to securely manage users' data which Shopify will provide in order to engage with the bot.
Setting up Shopify account
What will you need?
- A Shopify account, register yourself as a partner using Shopify partner. Read here to know more about becoming a partner on Shopify.
- Access to Haptik Platform
Step 1: Register as a partner
Navigate to https://www.shopify.com/partners. Register your business as a partner on Shopify.
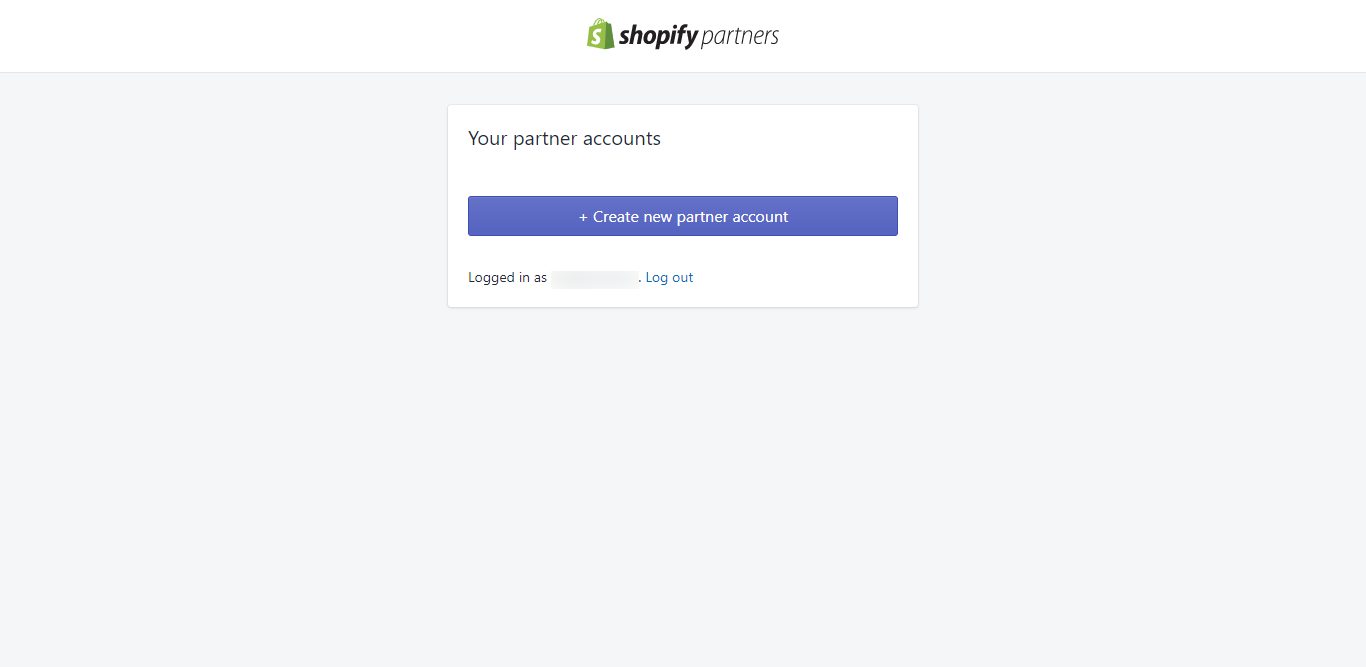
Once you have provided the details, you will reach here -
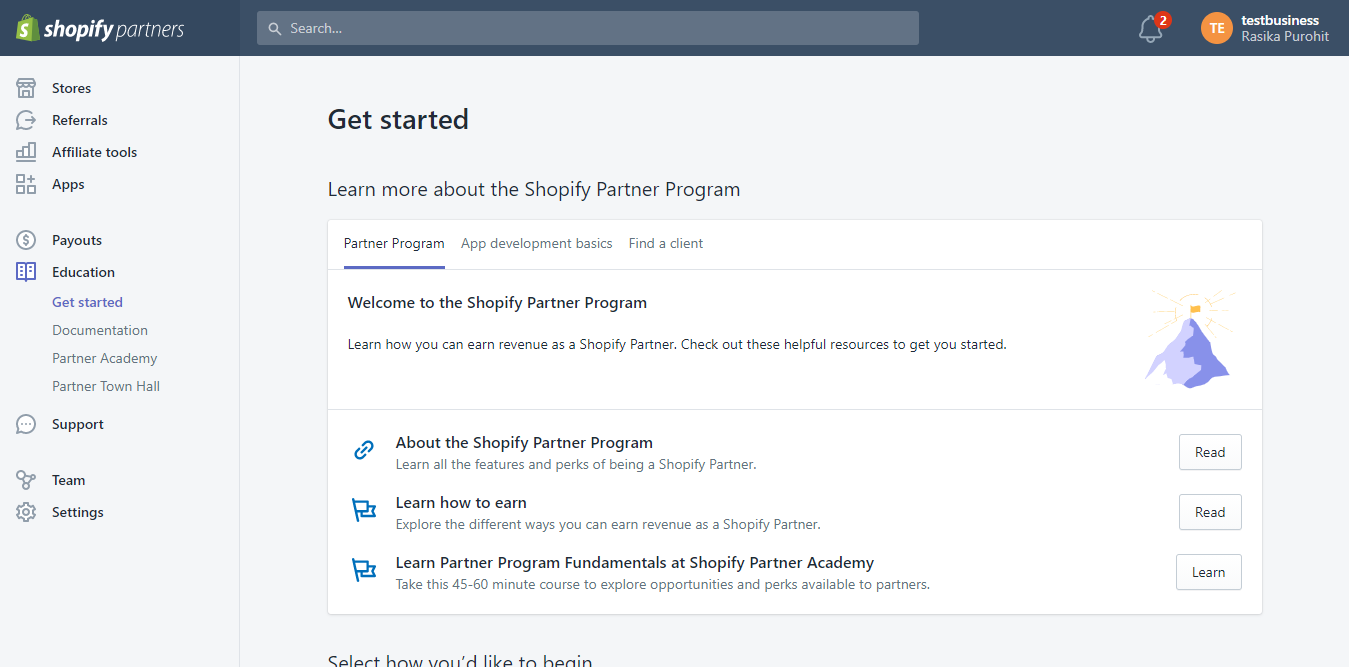
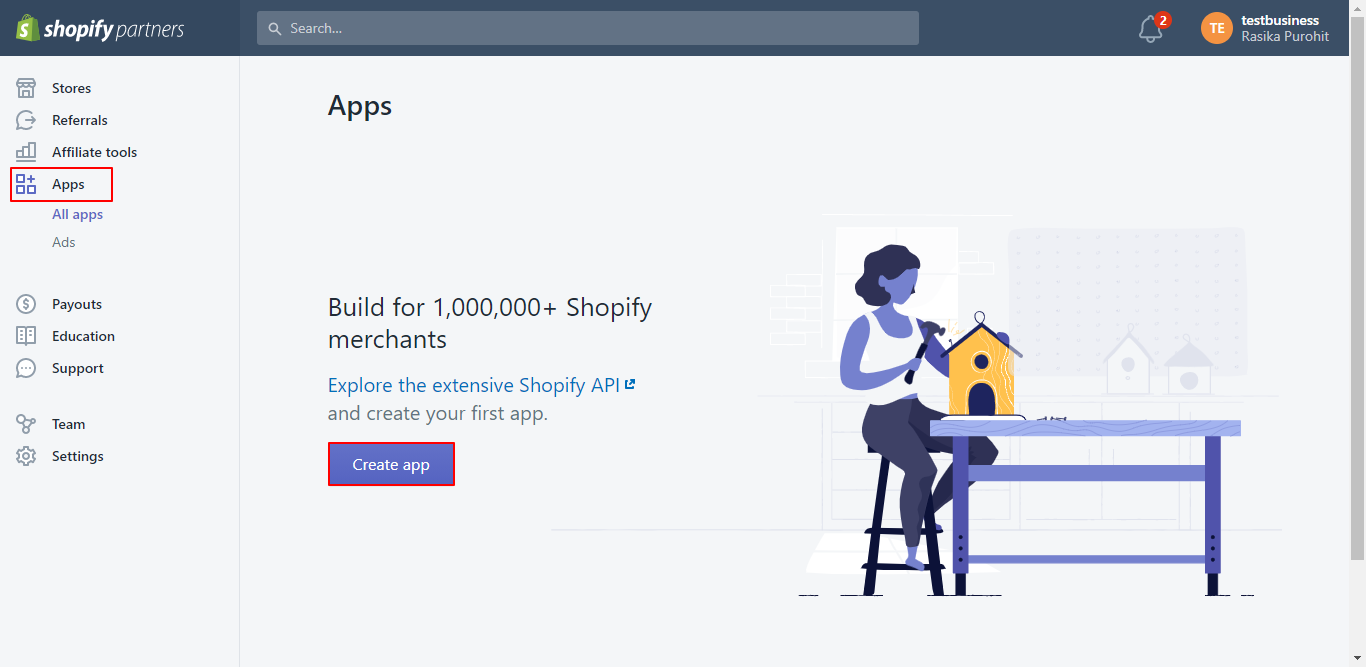
Step 2: Create a New App
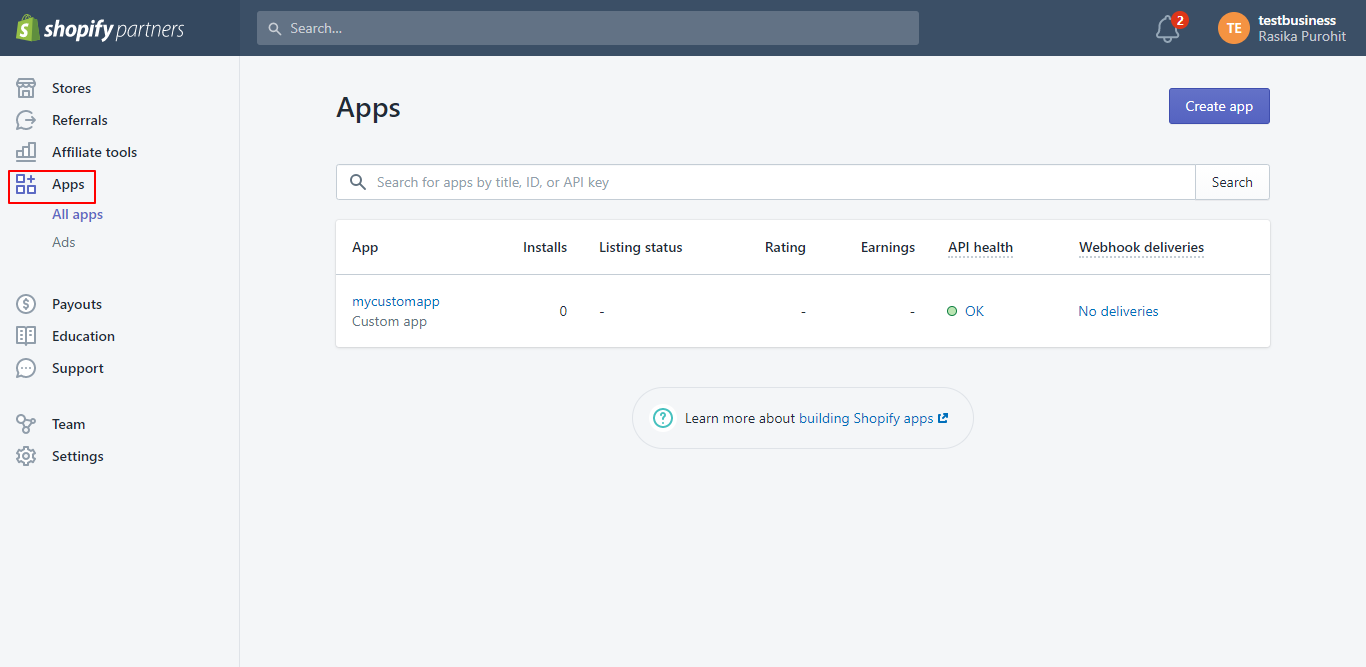
Click on Apps in the left sidebar and then click on Create App button.
Step 3: Set up the Custom App
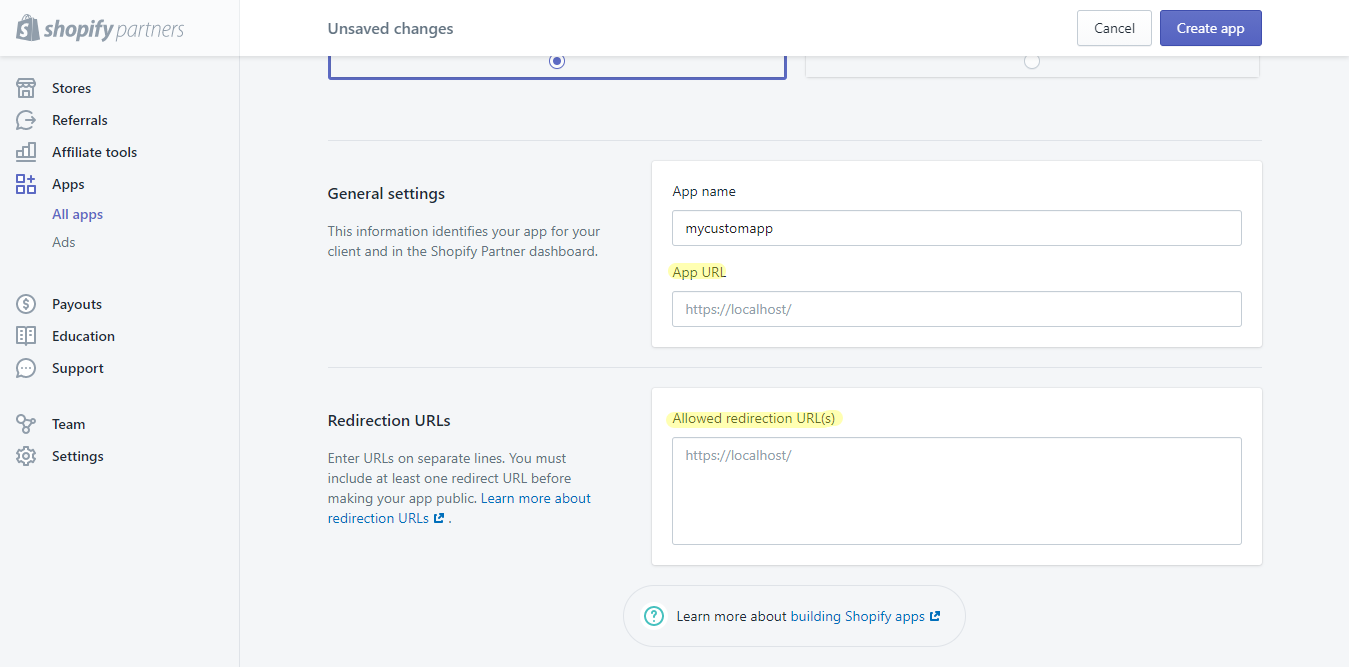
Select the app type to be Custom App
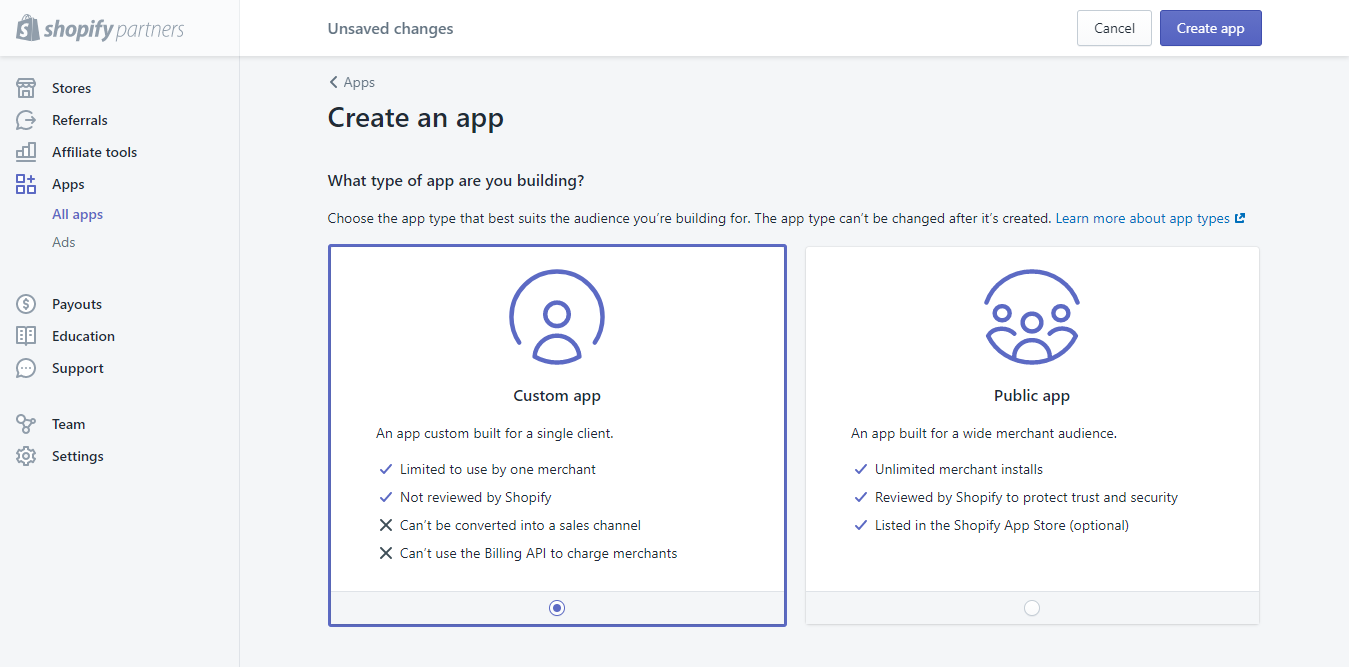
Here, provide the -
- App name - This can be any app name
- App URL and Allowed redirection URL(s) - Please contact your Haptik SPOC to procure the URLs.
You can check the new app in the Apps section.
Step 4: Provide the keys on Haptik Platform
When you open the newly created app, you will find the API key and API Secret Key
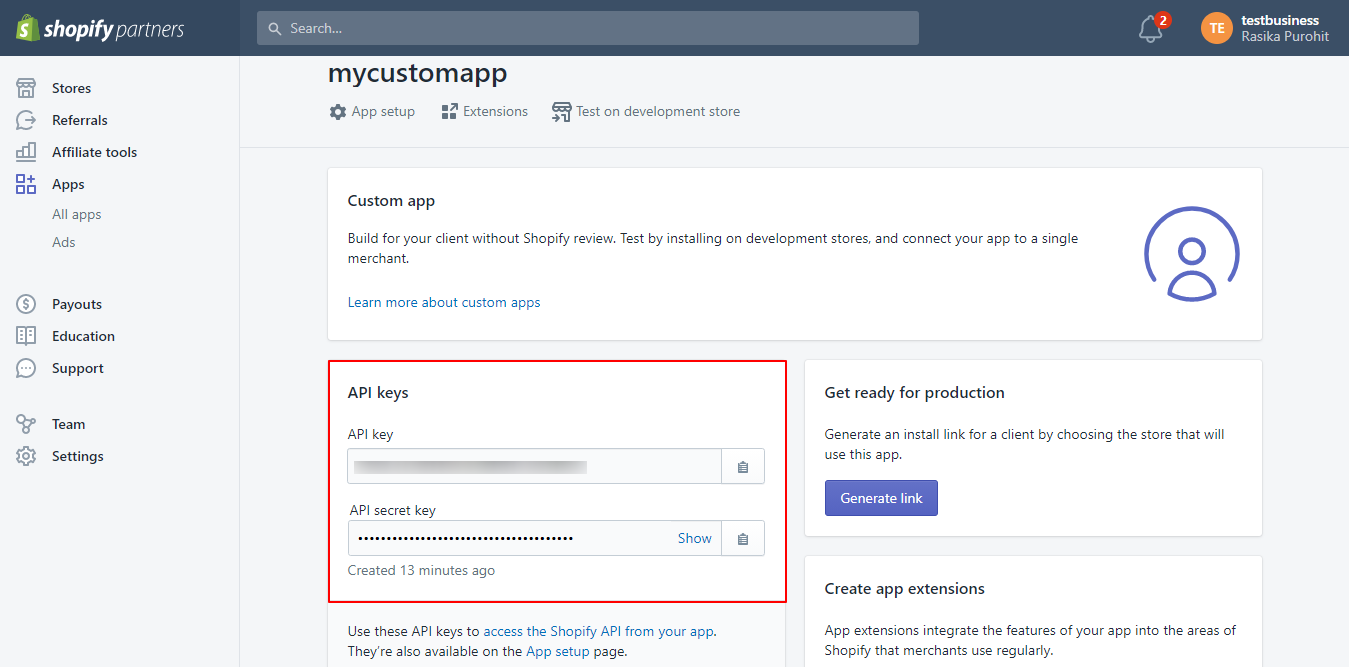
Copy these keys and provide them on the Platform Deployments section of the Business Manager on the Haptik Platform.
Step 5: Authenticate the App
Once the keys are provided, click on Generate Link button
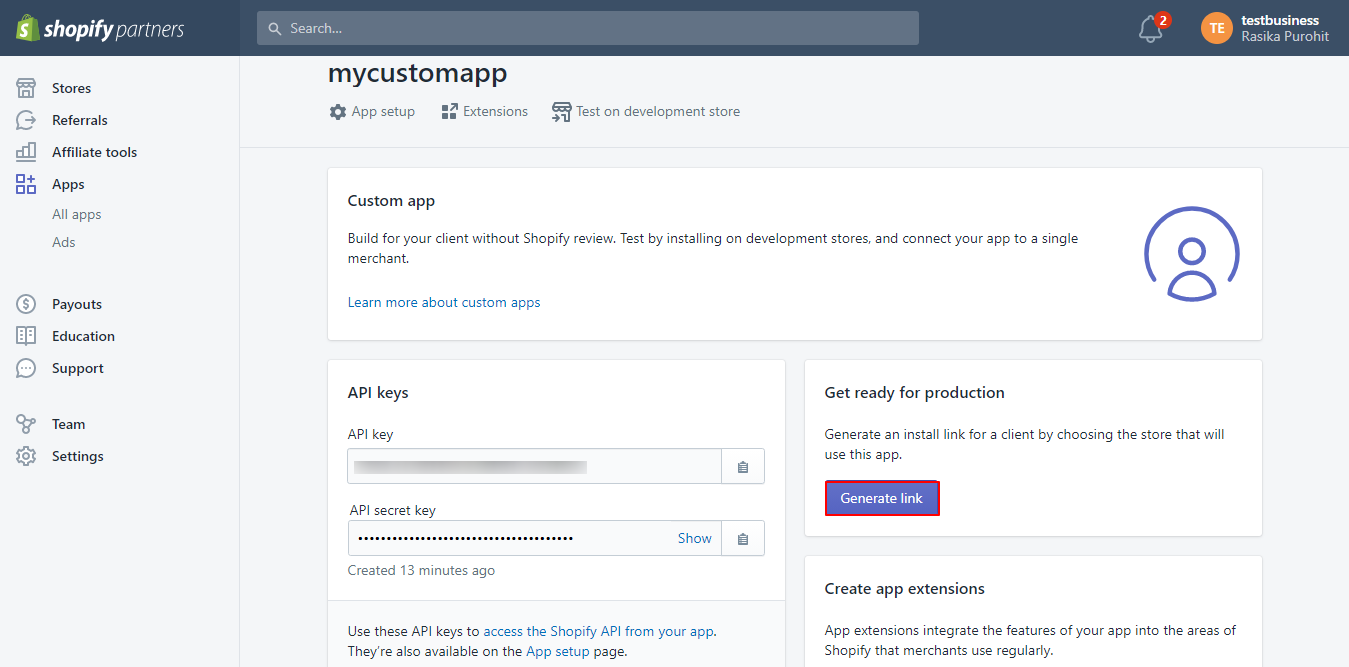
Provide your domain name. This domain name gets created when you create your store on Shopify.
The domain name can be found in the Stores section.
For example, if the store name is haptik, then the domain name will be haptik.shopify.com
You can read more about Shopify domains, here.
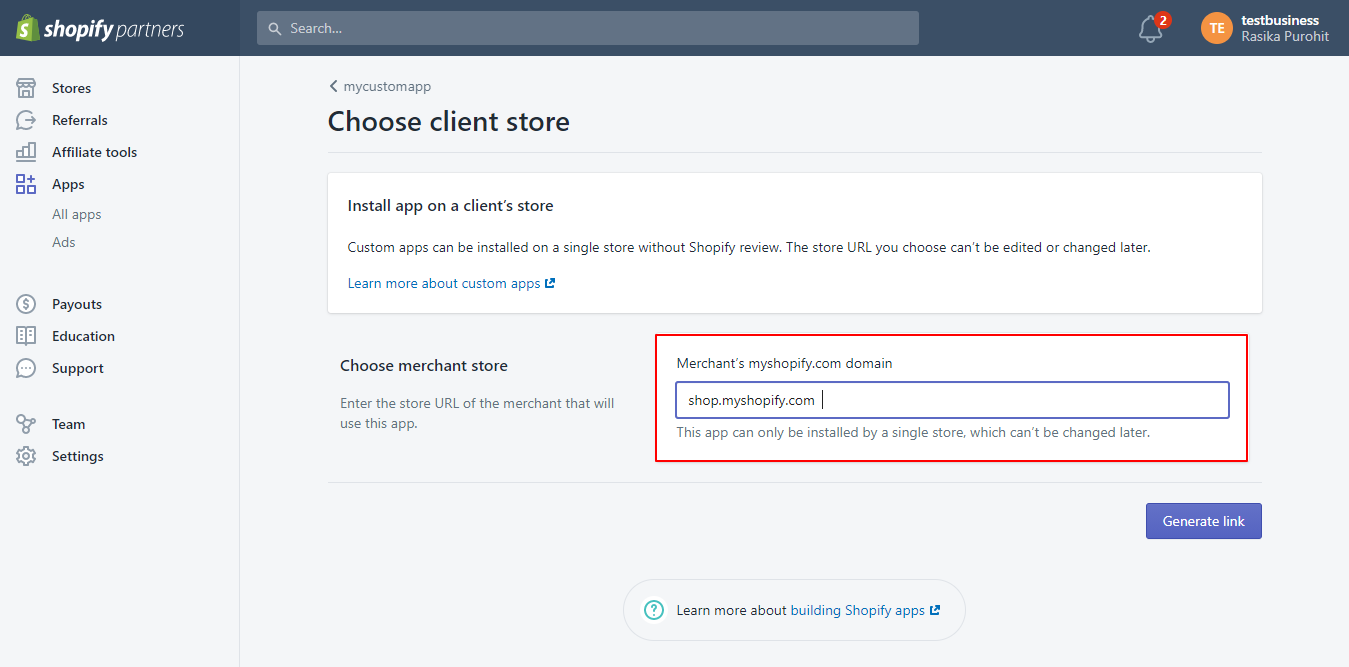
A new link gets generated here. Copy the link and open it in a new tab of your browser for the authentication process. You will be able to see the following screen.
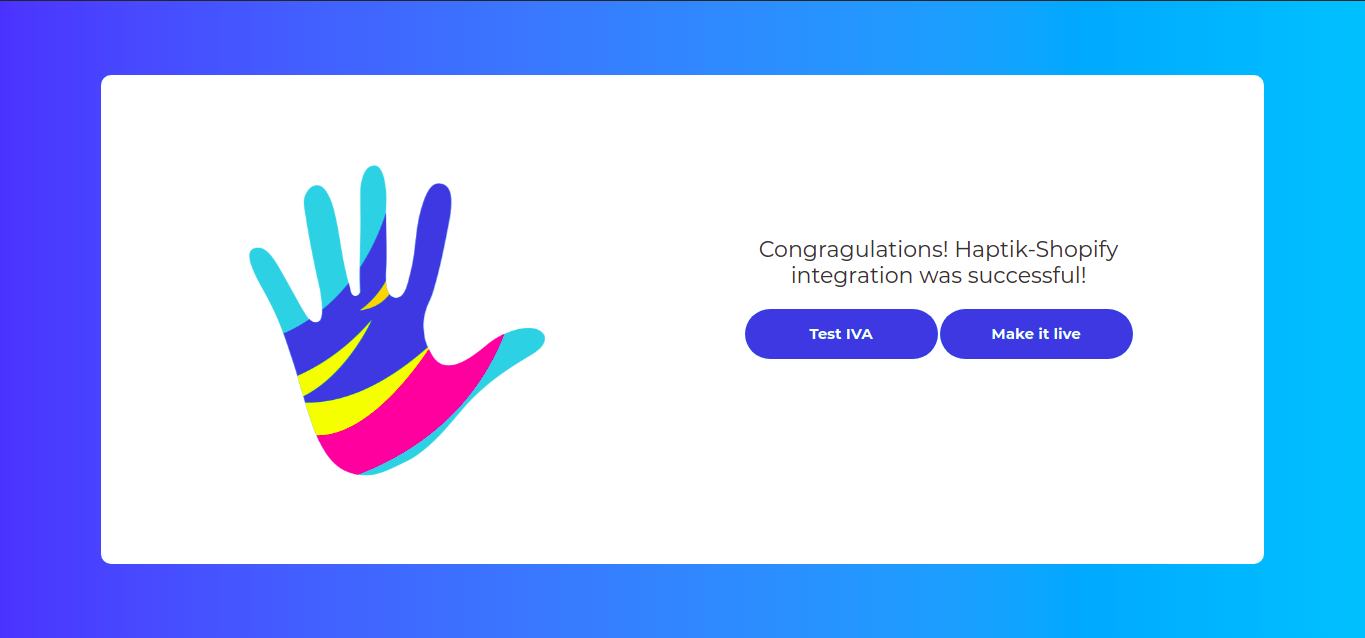
- When you click on the Make it live option, the Haptik bot will be deployed on your Shopify page. To know more about building a bot on Haptik, click here.
- When you click on Test IVA, a dummy HTML page will open up where you can do functional testing of the bot.
Voila! Once you have tested the bot, your users will then be able to communicate with the bot.
