Setting up Instagram bot via Facebook Login
- Getting Started
- Bot Building
- Smart Agent Chat
- Conversation Design
-
Developer Guides
Code Step Integration Static Step Integration Shopify Integration SETU Integration Exotel Integration CIBIL integration Freshdesk KMS Integration PayU Integration Zendesk Guide Integration Twilio Integration Razorpay Integration LeadSquared Integration USU(Unymira) Integration Helo(VivaConnect) Integration Salesforce KMS Integration Stripe Integration PayPal Integration CleverTap Integration Fynd Integration HubSpot Integration Magento Integration WooCommerce Integration Microsoft Dynamics 365 Integration
- Deployment
- External Agent Tool Setup
- Analytics & Reporting
- Notifications
- Commerce Plus
- Troubleshooting Guides
- Release Notes
Table of Contents
Prerequisites for having an Instagram bot
The prerequisites include:
- An Instagram Professional Account (either Creator or Business account).
- A Facebook Page connected to that Instagram account.
- Enable the setting Access to Messages in the Instagram account.
- Steps: Settings > Privacy > Messages > Enable Allow Access to Messages.
Setting up an Instagram bot
The steps for Setup are divided into two different sections.
- Creating a bot on Haptik
- Adding deployment details on Haptik
1. Creating a bot on Haptik
Once you have completed all the above steps, you are good to move to the next part which is Creating a bot on Haptik. You can learn about creating a bot here.
Once you have created your bot, you can move to the next section, which is adding deployment details to the Platform Deployments section on Haptik.
2. Adding deployment details on Haptik
Step 1: Log in to Haptik, navigate to Conversation Studio > Business Manager > Channels > Platform Deployments, and select Instagram from the Platform drop-down, as shown.
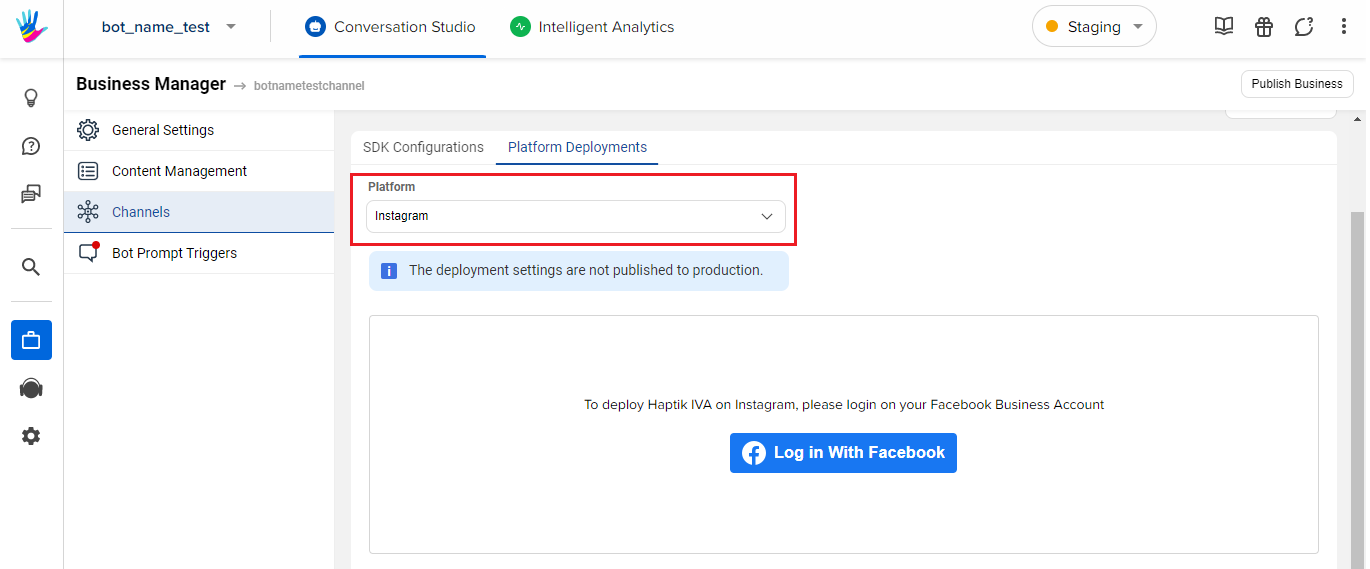
Step 2: Click on Log in With Facebook button, and add your Facebook Business Account credentials, in order to log in.

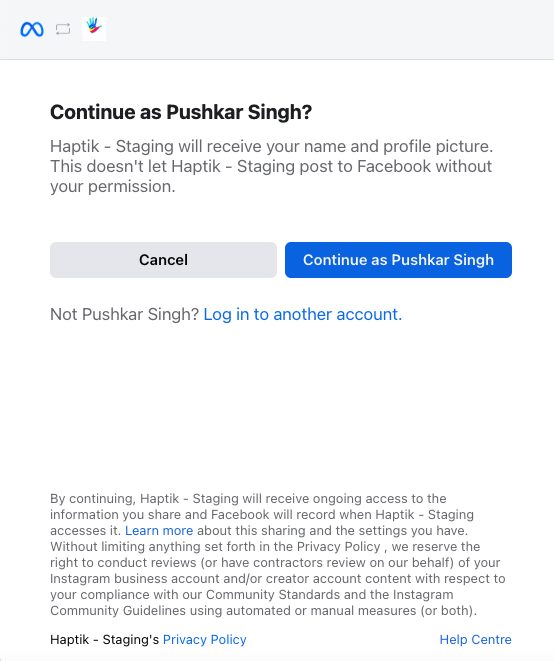
Step 3: Once logged in, click on Continue, as shown.
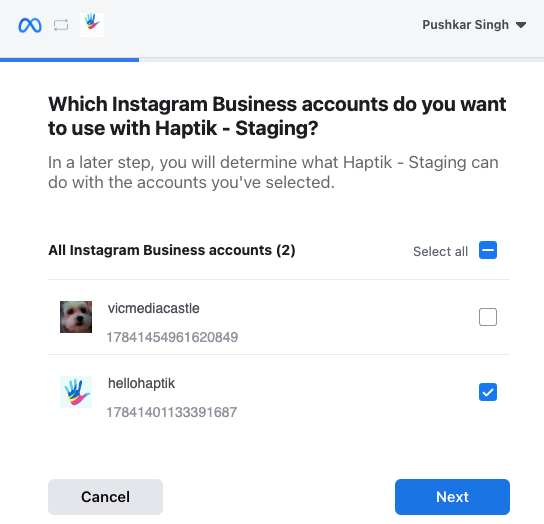
Step 4: Select the Instagram Business Account you want to activate.
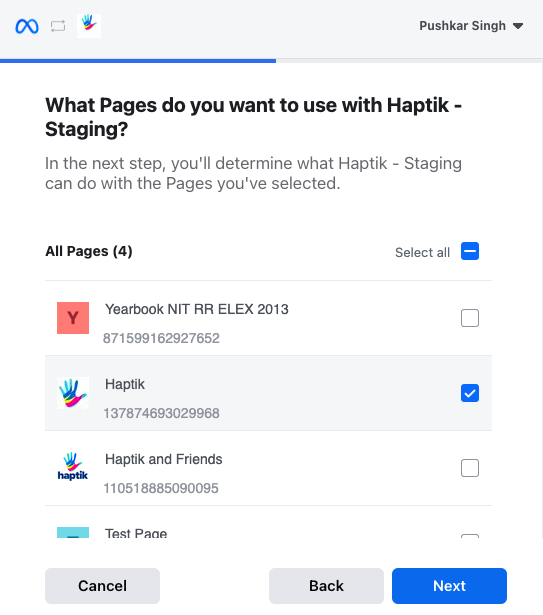
Step 5: Select the Facebook Page that is connected to your Instagram Business account.
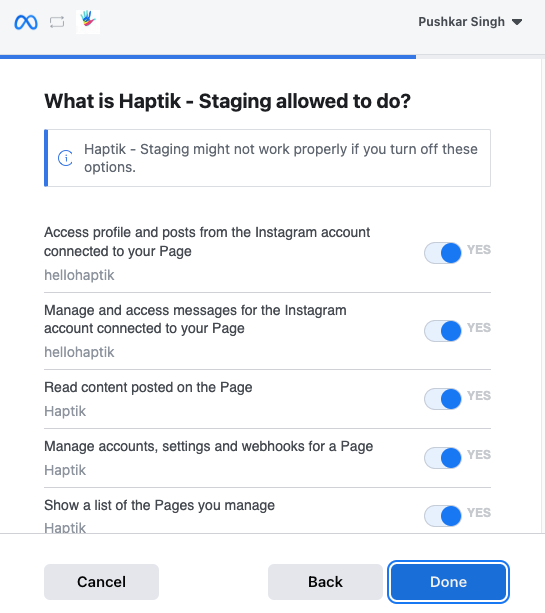
 Step 6: Ensure that all permissions are enabled and click on Done.
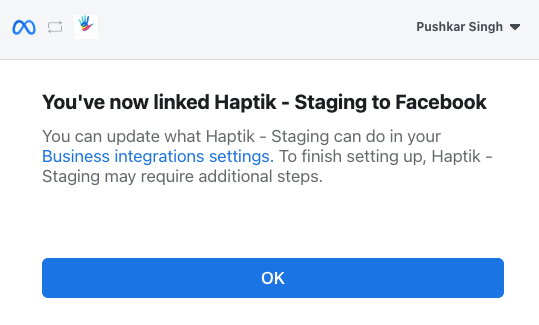
Step 7: Click OK to proceed.
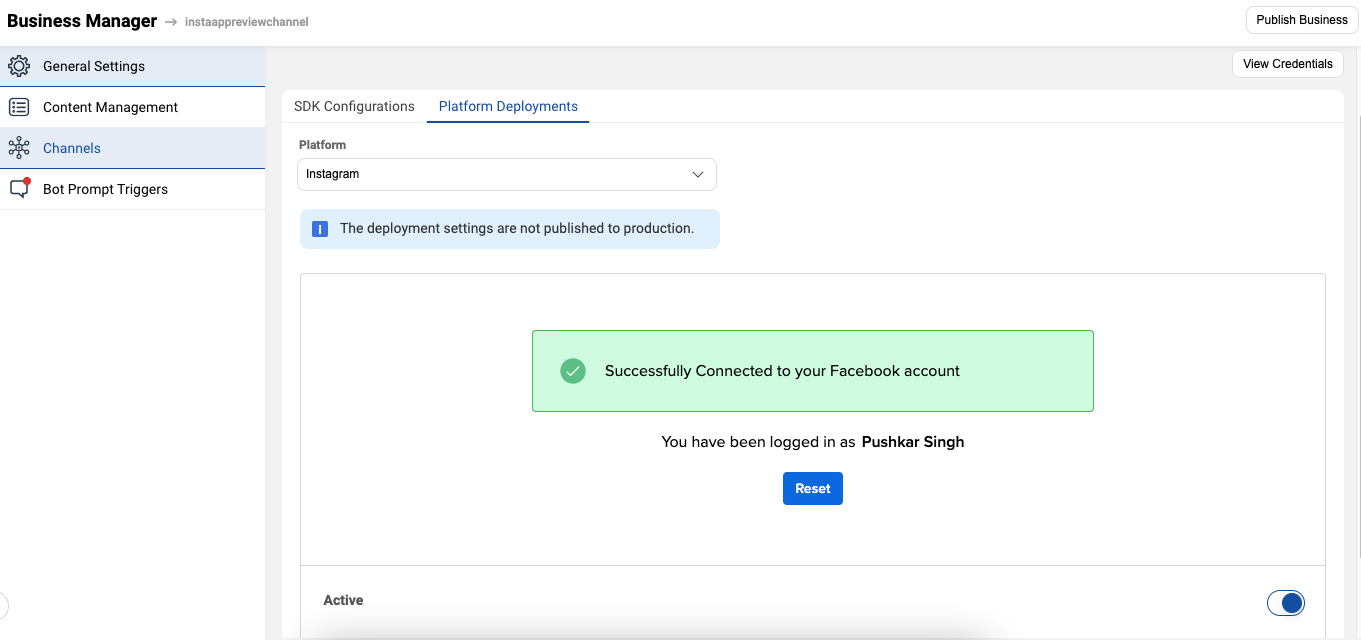
Step 8: Once connected, you will be able to see a message “Successfully Connected to your Facebook account”, as shown.
Once you are done with all the steps mentioned above, please raise a support request to enable Instagram on your bot citing your bot name, business ID, environment (Staging/Production) and CAS. This is a one time process required for staging and production on both environments. Please make sure to complete the Facebook login before raising the ticket.
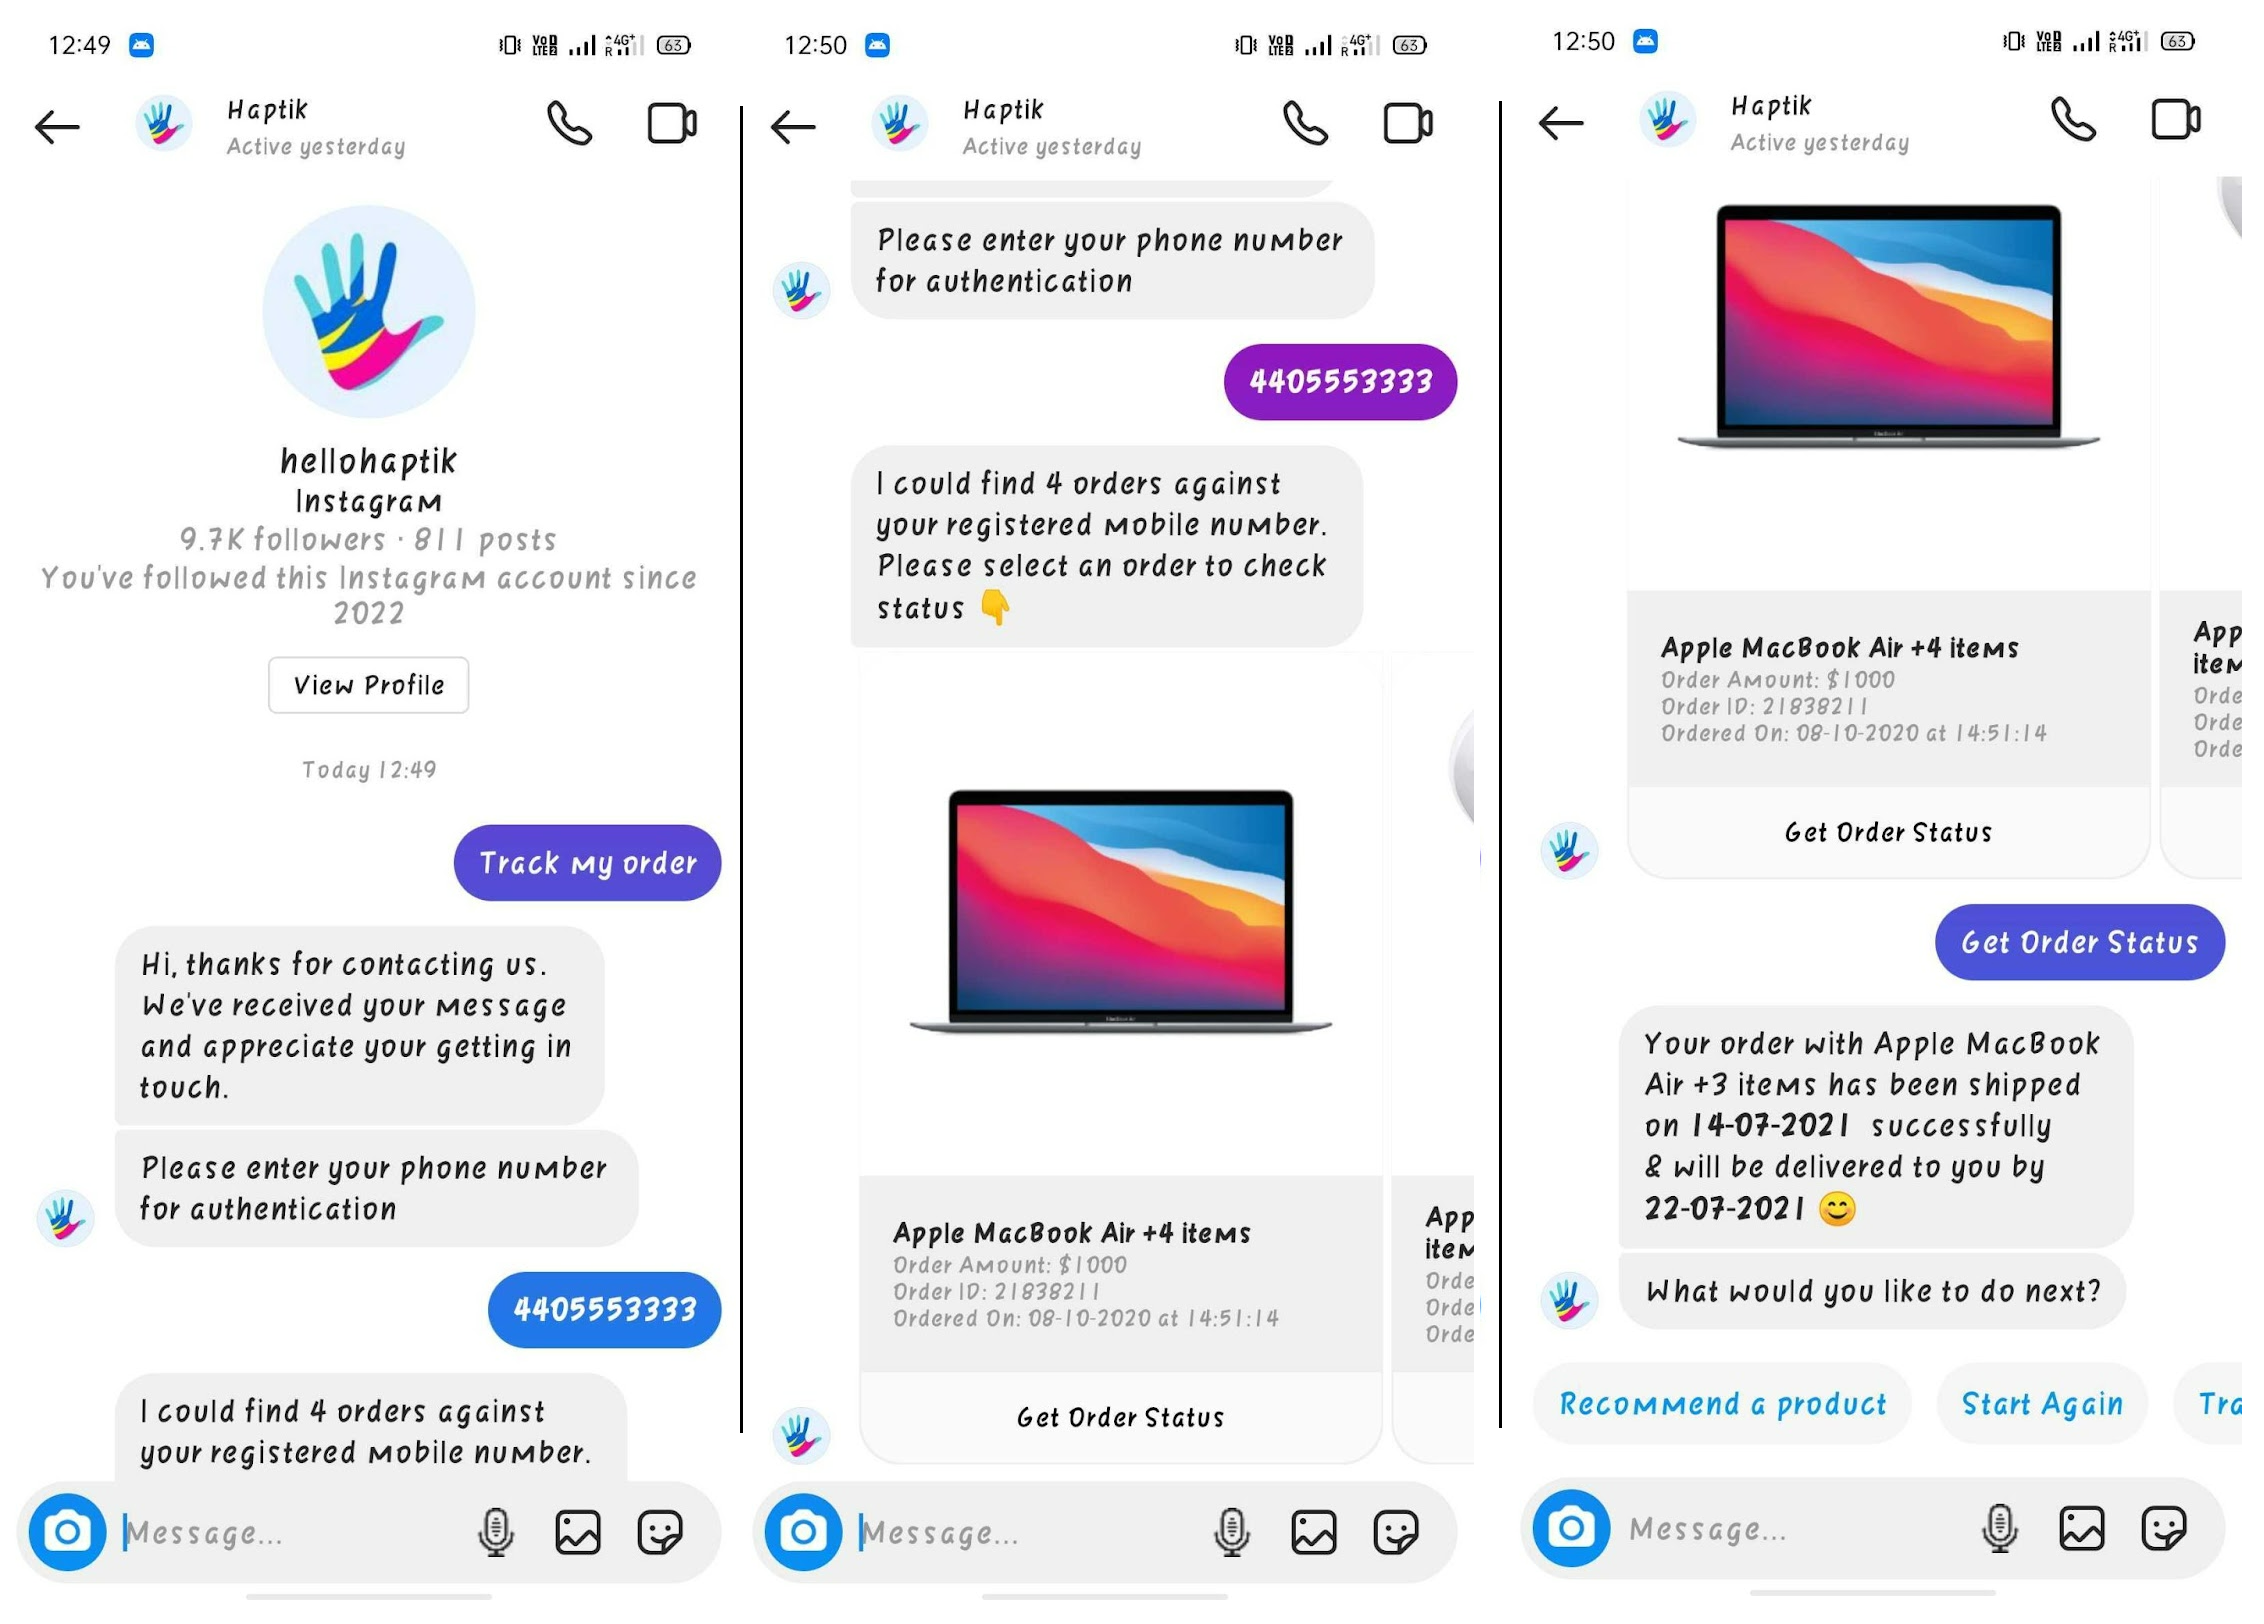
You can now test your bot on Instagram, and it will look just the same as it looks when we chat with our friends on Instagram. The only difference here would be that a bot would be replying to your queries.
