How to set up a flowchart tool?
- Getting Started
- Bot Building
- Smart Agent Chat
- Conversation Design
-
Developer Guides
Code Step Integration Static Step Integration Shopify Integration SETU Integration Exotel Integration CIBIL integration Freshdesk KMS Integration PayU Integration Zendesk Guide Integration Twilio Integration Razorpay Integration LeadSquared Integration USU(Unymira) Integration Helo(VivaConnect) Integration Salesforce KMS Integration Stripe Integration PayPal Integration CleverTap Integration Fynd Integration HubSpot Integration Magento Integration WooCommerce Integration Microsoft Dynamics 365 Integration
- Deployment
- External Agent Tool Setup
- Analytics & Reporting
- Notifications
- Commerce Plus
- Troubleshooting Guides
- Release Notes
Table of Contents
Why do you need a flowchart tool?What we do at Haptik?UI Elements on LucidCreating Flowcharts on LucidPublishing Flowcharts on LucidHow to use the Haptik elements library on any other tool?What to put into a flowchart?Other things to keep in mindThis is the most important tool in the Conversation Designer’s arsenal to design conversational flows and user journeys.
Why do you need a flowchart tool?
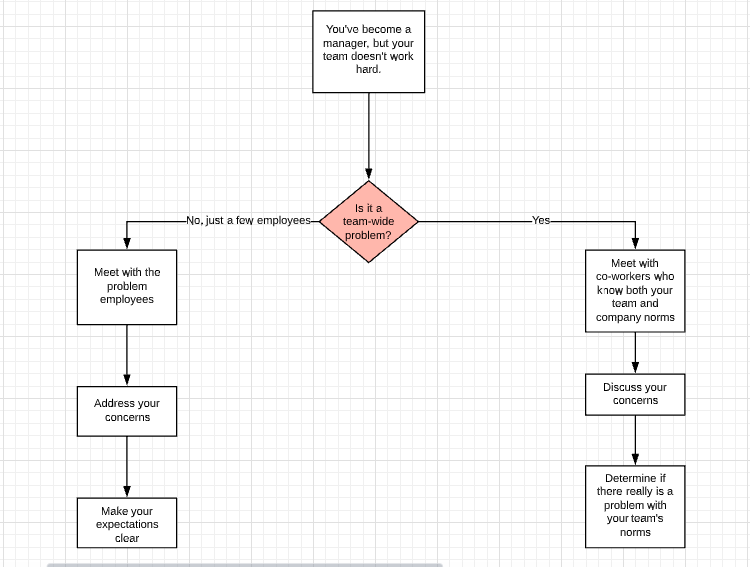
- A flowchart helps you craft your conversational journey before you invest in building the bot. It provides a fully flexible canvas to modify and play around with ideas at an early stage.
- A flowchart is a great way to brainstorm on all possibilities and chalk out edge cases atop your ideal user journey. This makes your solution a lot more comprehensive and long-lasting.
- A flowchart is ideal for all the stakeholders of your product to visualize the user journey, provide feedback at an early stage.
- A flowchart helps you create a clear benchmark for your product before you go into development. It gives your QA engineer a reference point while testing the virtual assistant.
What we do at Haptik?
Over the years, we’ve experimented with several bot design tools — Spreadsheets, Bot Society, Xmind... you name it, and we’ve probably tried it. We finally landed on Lucidchart as our Conversation Design tool of choice.
We started using Lucid at the start of 2019 and put it through its paces, only to realize that we needed a central library of elements to ensure that Haptik’s IVA designs looked consistent, no matter who designed them.
UI Elements on Lucid
Our platform’s users now have access to a central Haptik Library of over 20 Haptik specific UI elements that can be used to design bot flows.
Here’s a chart of the elements which we have imported in the Haptik Lucid accounts. In the below sections we have explained how you can enable it for your Lucid account or any other flowchart design tool. This library is constantly being updated with new elements and is maintained by the Haptik Design and Solutions team.
Creating Flowcharts on Lucid
While Lucid is a great tool, it hasn’t been built to design user journeys for chatbots in mind. Which is why we’ve had to modify certain things to fit our way of working.
Here is the process to create a bot flow document. Make sure that you implement all the following stages to avoid errors later.
- Create a new document and import the Haptik Library if it isn’t already present in the sidebar.
- Pull in the Document Name element. Name the document after the client and the tab after sub use case for best results.
- Adjust your Document and Canvas size. Turn off Auto tiling.
- Pull in the Connector element.
- Pull in your task box, User messages or any other element you need to start the bot flow with.
- Edit copies and keep pulling other elements to complete your bot flows.
- The task box element should ideally be edited as per your brand color and personality. Make sure you add the relevant copy to make it interesting.
Publishing Flowcharts on Lucid
Here is the process to publish your lucid flowcharts for any of your team members or stakeholders to view the design.
Go to File>Publish>Tap on the Full document URL option > Copy the link and share it.
Here’s an article that gives you more information about publishing flowcharts on Lucid.
This link does not require the viewer to create a Lucid account and comments will not be allowed in this view only lucid chart link.
How to use the Haptik elements library on any other tool?
- Haptik will provide a downloadable file format that works for your tool - .vsdx, .vsd or .csv.
- Upload the file to your tool
- Drag and drop elements to design your conversations
What to put into a flowchart?
Your flowchart can be structured as follows:
- The user journey for all scenarios with the dialogue. This includes everything we explain in the Chat Initiation, Chat Middle, Chat End section including the ways to initiate the chat, provide a solution to the user’s query, and complete the user journey.
- The correct elements to be used depend on the platform
- Any clarifications or questions you have for the team
- Anything else that is relevant to the journey that the bot builder must know!
Other things to keep in mind
Here’s what your flowchart should contain apart from your basic chat flow design described above
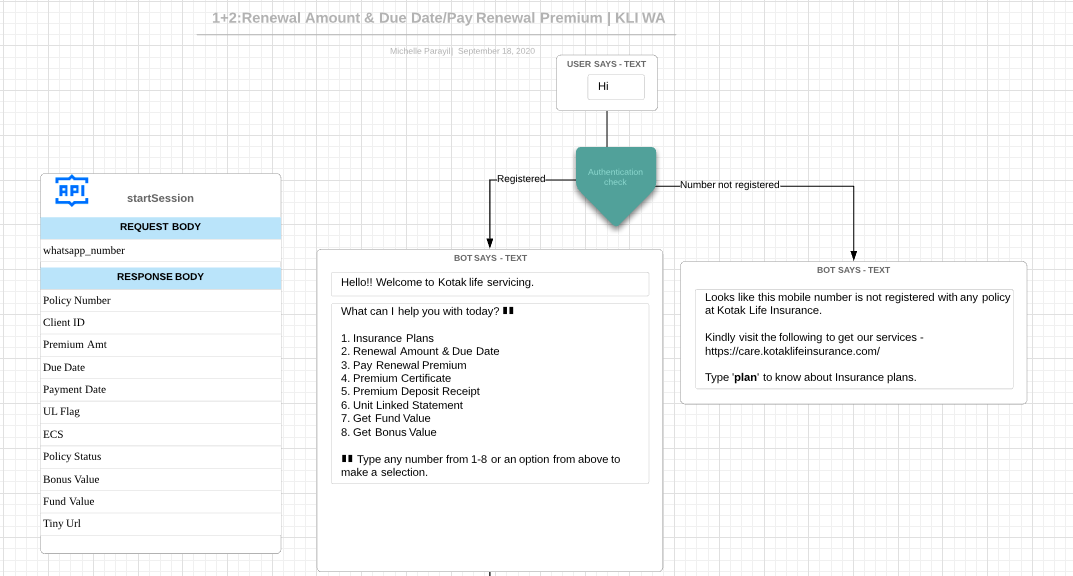
- API calls whenever you need to fetch or send any information from within the bot to another system. Illustrated below
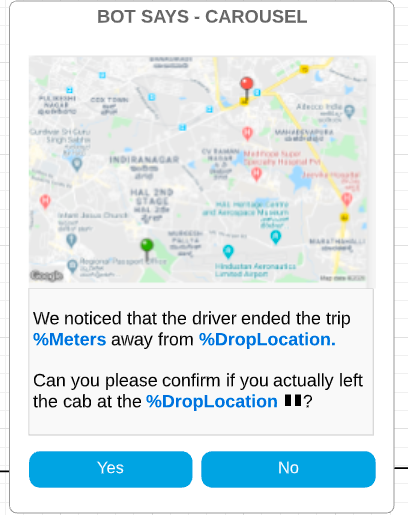
- Entities - Use a placeholder like %name to highlight dynamic values. You may also use actual sample values like John Doe but highlight these in some color so that bot builders know that these are dynamic. As shown below —
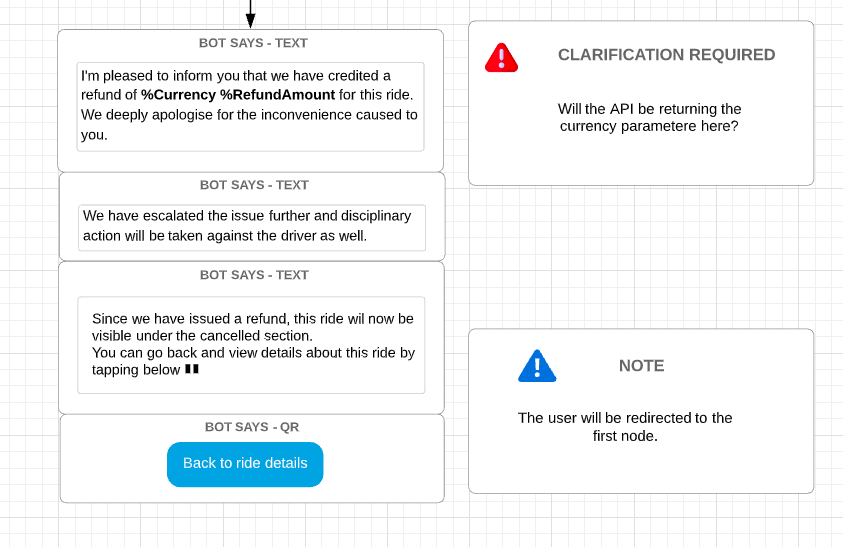
- You may use the clarifications box to highlight content options and open questions. Once a clarification is closed, make sure that no important notes are lost — we recommend adding a Note for any important information.
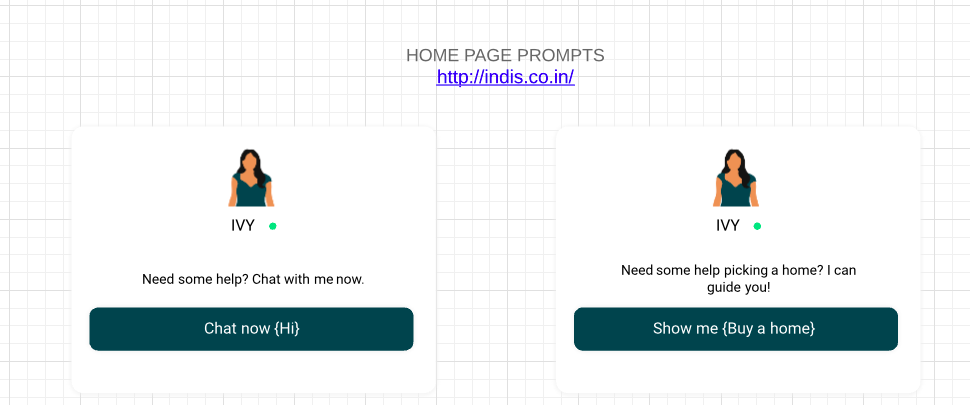
- Bot Prompts are ‘notifications’ sent to users to draw their attention. Make sure you include them in your flowchart if you wish to define user journeys that begin from these prompts. This is explained in detail in the Chat Initiation >> Bot Prompt section below.
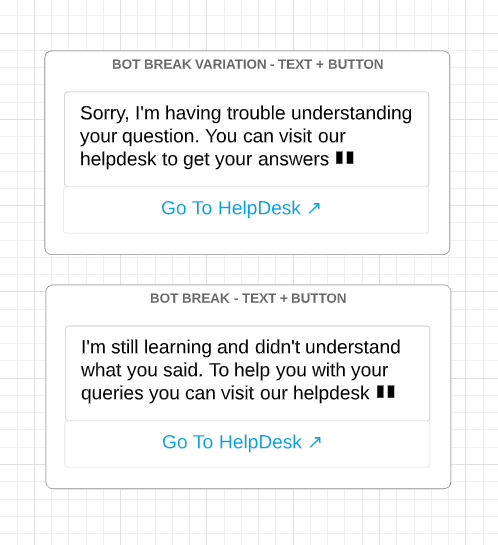
- Bot Break messages - Users tend to enter unsupported queries or gibberish during the conversation. Always ensure that your design includes a bot break message alongside the taskbox. You can learn more about how to build better bot break experiences in the Bot Breaks section.
Follow this process to ensure that your flowchart is comprehensive and provides an excellent base for the Bot Building team to take over!
