How to Set Up Zendesk Guide Integration on Haptik bot
- Getting Started
- Bot Building
- Smart Agent Chat
- Conversation Design
-
Developer Guides
Code Step Integration Static Step Integration Shopify Integration SETU Integration Exotel Integration CIBIL integration Freshdesk KMS Integration PayU Integration Zendesk Guide Integration Twilio Integration Razorpay Integration LeadSquared Integration USU(Unymira) Integration Helo(VivaConnect) Integration Salesforce KMS Integration Stripe Integration PayPal Integration CleverTap Integration Fynd Integration HubSpot Integration Magento Integration WooCommerce Integration Microsoft Dynamics 365 Integration
- Deployment
- External Agent Tool Setup
- Analytics & Reporting
- Notifications
- Commerce Plus
- Troubleshooting Guides
- Release Notes
Table of Contents
Zendesk GuidePrerequisites for integrating Zendesk Guide with HaptikHow to set up?Zendesk Guide
Let us first understand what Zendesk Guide is. It is a tool that is used by businesses to help organize their documentation, or in other words Knowledge Base, which includes documents related to their business-specific use cases, as well as the frequently asked questions, and other information. These documents are stored in easily accessible formats for both internal as well as external users.
Zendesk is a customer support software that allows you to create a Guide. The guide enables you to provide end-users with a complete self-service support option and empowers agents to better help customers. Using Zendesk Guide you can create a help center that includes,
- Branded customer-facing support site.
- Knowledge base, for publishing self-service content.
- Community, for customer collaboration (available on Suite Professional and above; not available for Support + Guide customers)
- Customer portal, where customers submit tickets and also manage their tickets (ticket management is not available on Suite Team)
You can read more about Zendesk Guide, here.
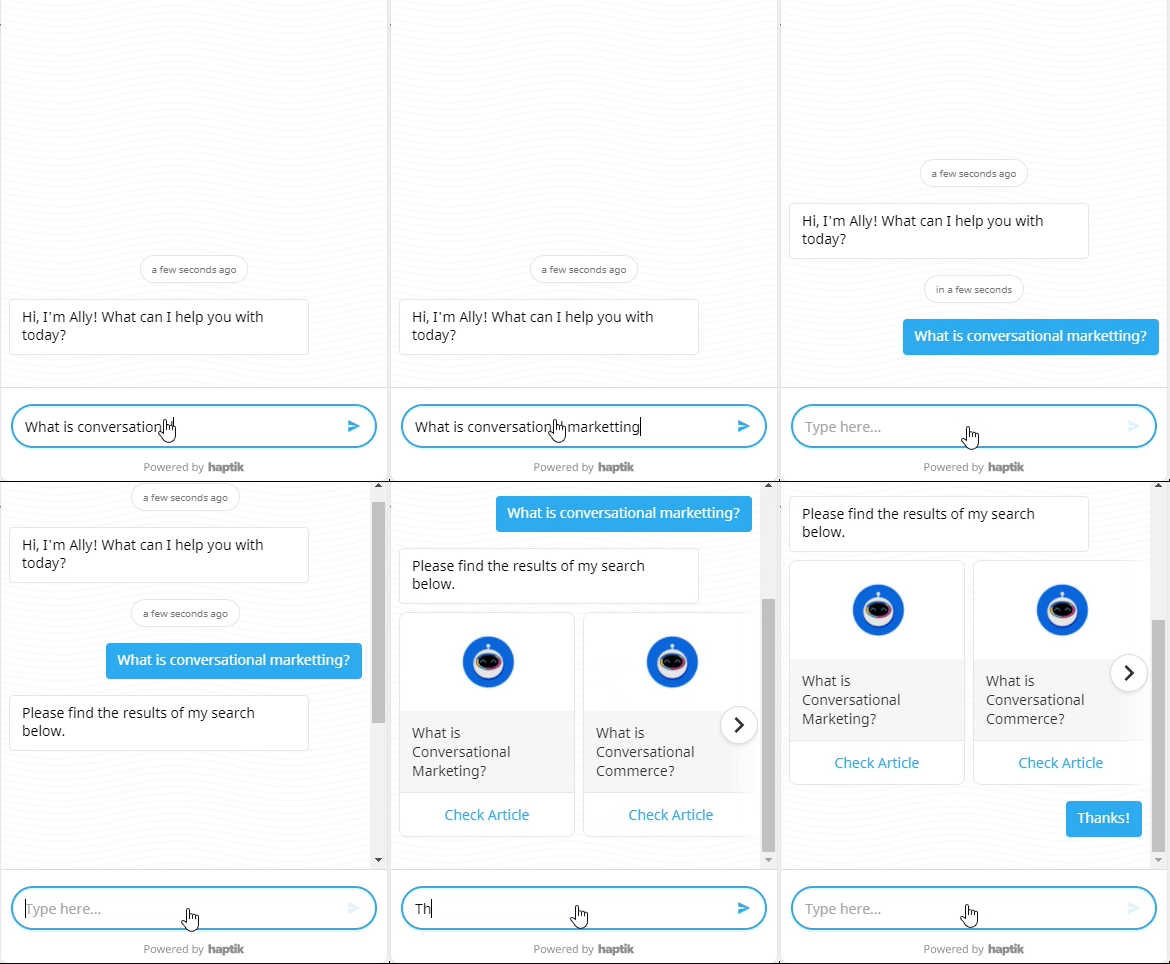
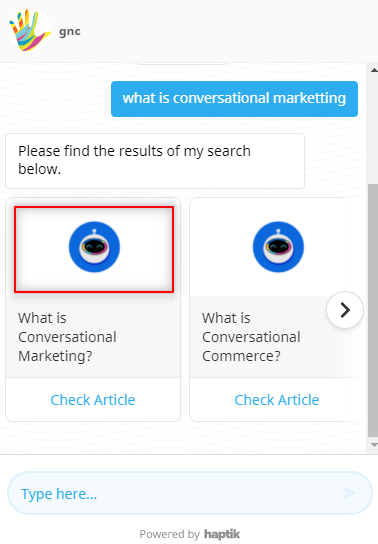
Once this integration is enabled, every time a user asks a query on your bot, the bot will respond by suggesting relevant articles from your Zendesk Guide, after understanding the intent of the query. We will understand this in detail, in the further sections of this article.
Prerequisites for integrating Zendesk Guide with Haptik
- A paid account on Zendesk. You can check the pricing, here.
- A knowledge base on Zendesk Guide. You can learn more about creating a knowledge base on Zendesk, here.
- A bot on Haptik. You can learn more about creating a bot, here.
How to set up?
Once you have all the prerequisites ready with you, all you need to do is integrate your Zendesk Guide with Haptik. For connecting them, you would need to add integration details to the Platform Deployments section on Haptik.
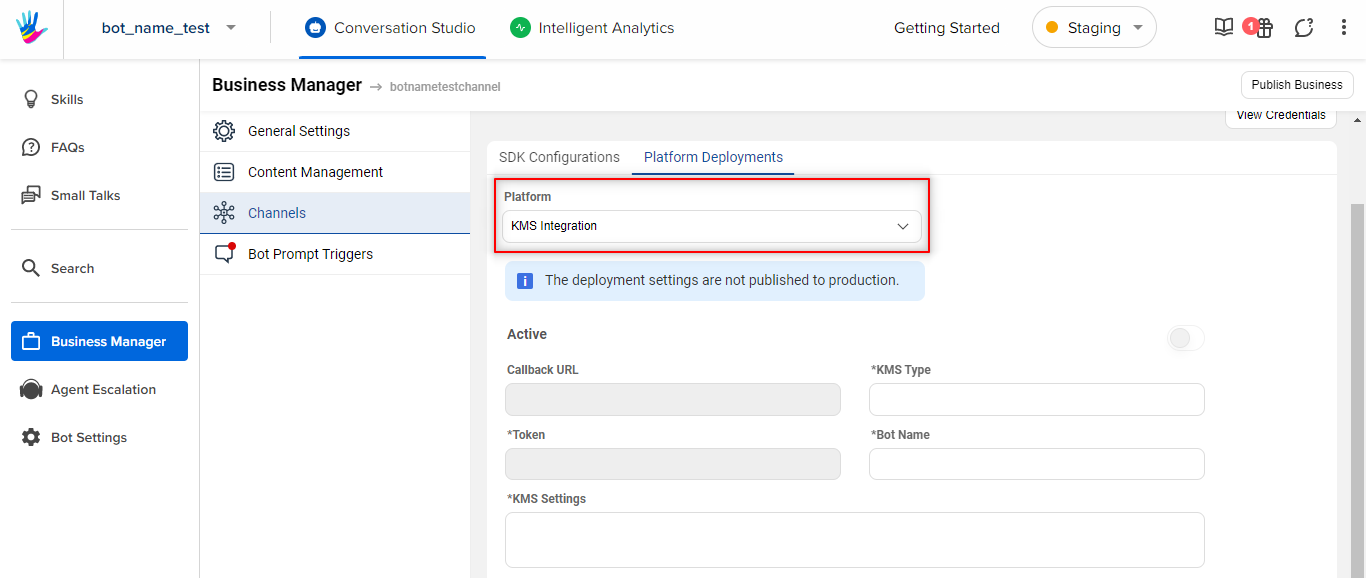
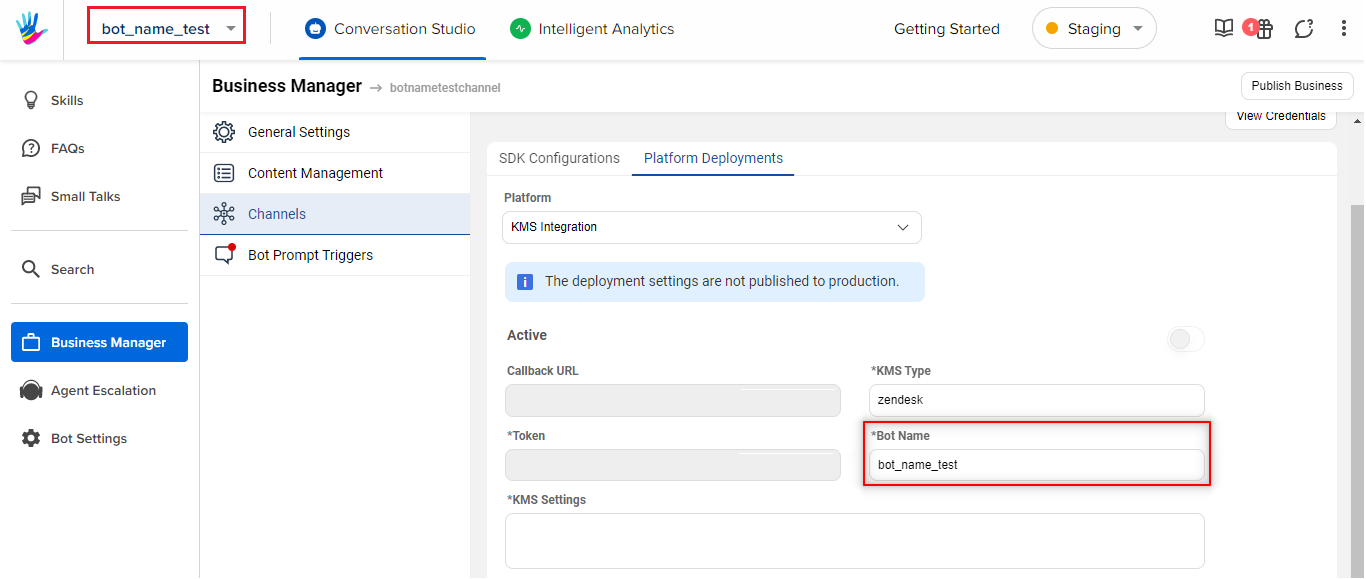
Step 1: Log in to Haptik, open your bot and navigate to Conversation Studio > Business Manager > Channels > Platform Deployments, and select KMS Integration from the Platform dropdown, as shown.
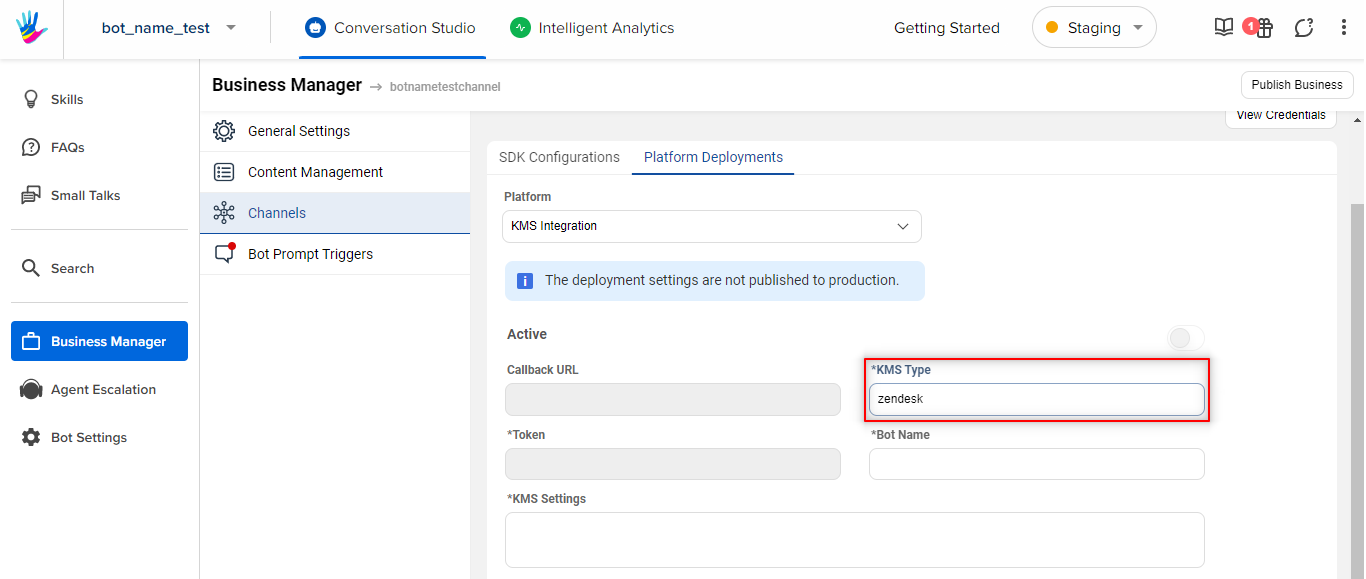
Step 2: Add zendesk in the field KMS Type.
Step 3: Add your bot's name in the field Bot Name. Make sure you have added the name accurately.
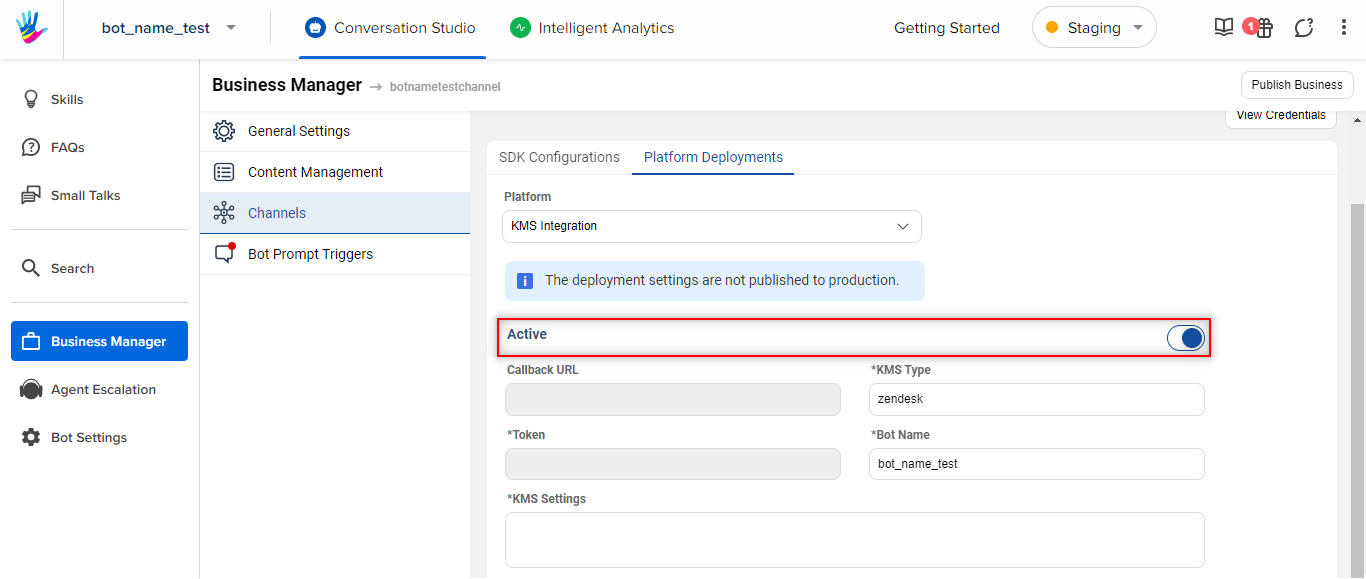
Step 4: Turn the Active toggle button on.
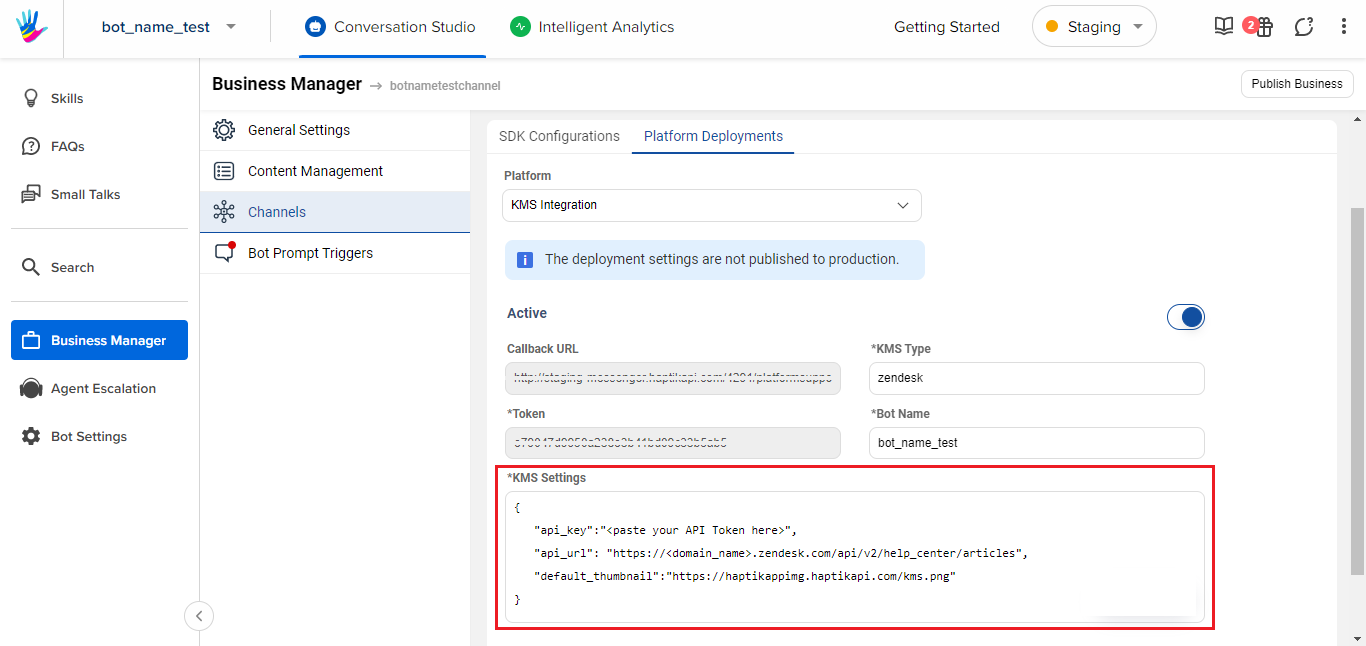
Step 5: Under KMS Settings, enter the following JSON as per the instructions.
{
   "api_key":"<paste your API Token here>",
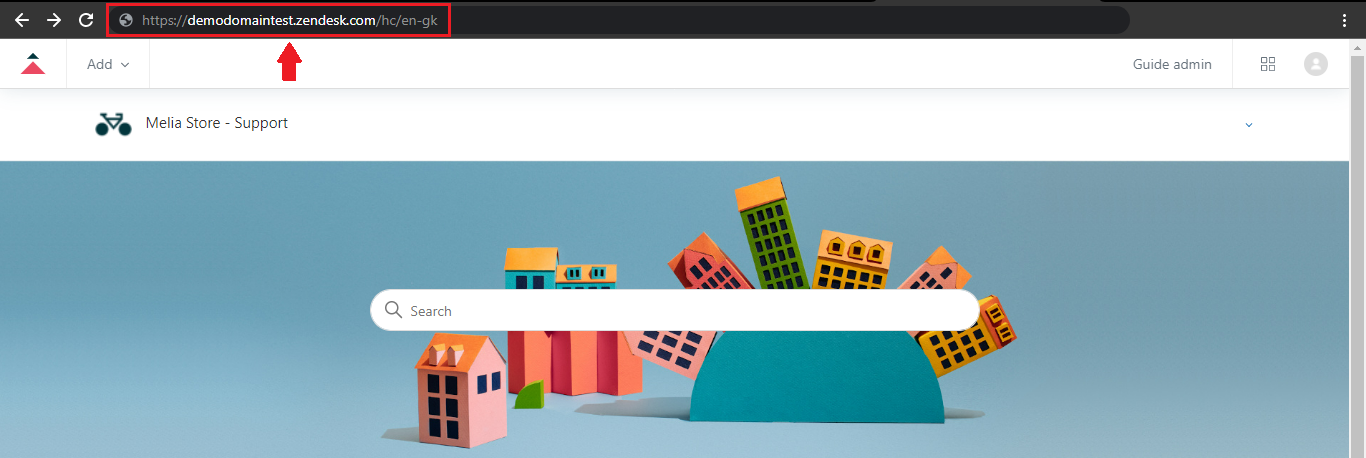
   "api_url": "https://<domain_name>.zendesk.com/api/v2/help_center/articles",
   "default_thumbnail":"https://haptikappimg.haptikapi.com/kms.png"
}
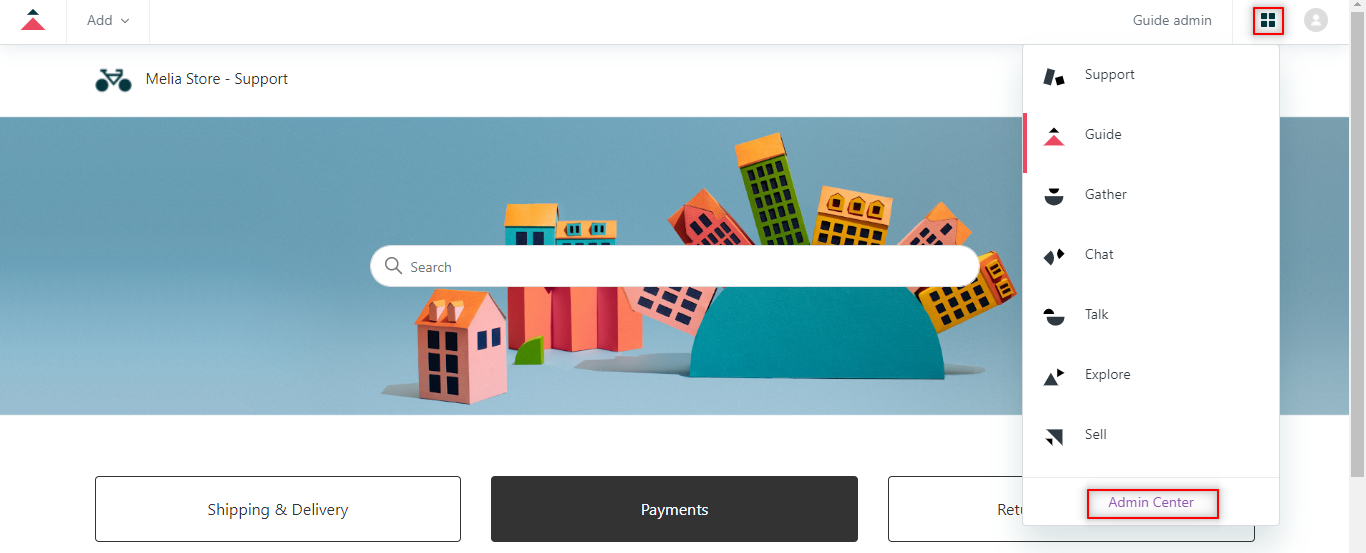
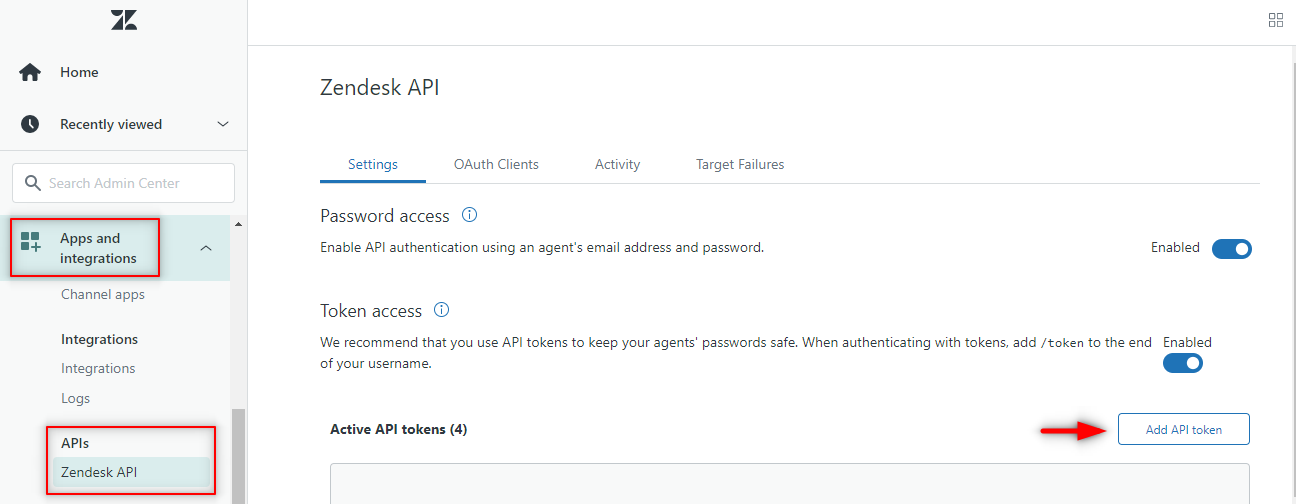
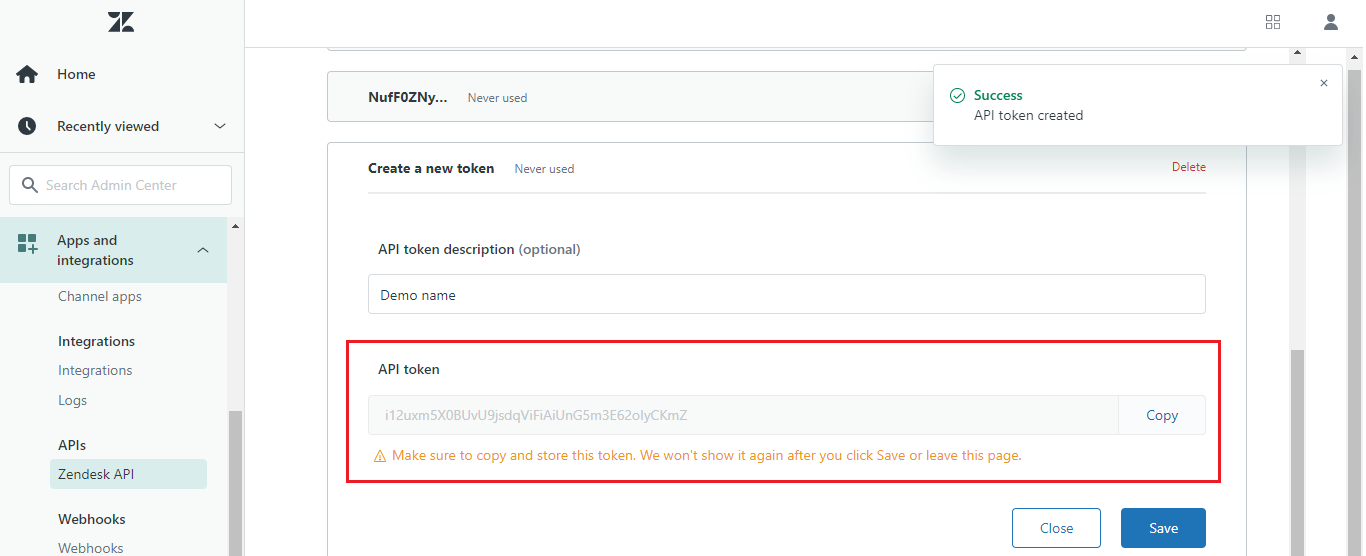
Once you have the api_key and api_url, update the JSON under KMS Settings as shown.
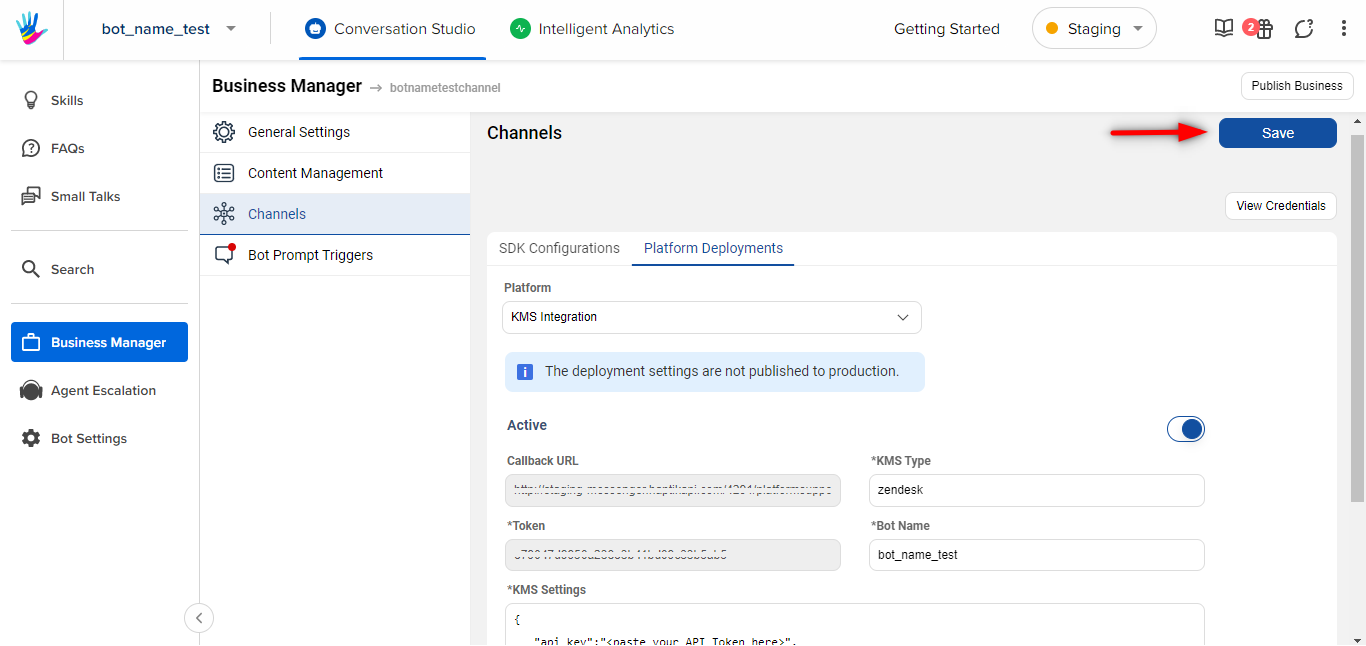
Step 6: Once you have populated all the fields in the Platform Deployments, with the appropriate details in it, you can Save it.
Step 7: You will have to raise a Support Ticket on the Haptik portal or drop an email at support@haptik.ai, for activating the KMS feature on your bot. Please mention your bot's name on the ticket. This is a one-time activity, and it will take at the most 1-2 business days for activating this feature.
Once the KMS integration is activated on your bot, you are good to test your bot and see how it fetches the articles from your knowledge base added to the Zendesk Guide.
Once tested, you can move your bot to the Production Environment, where you can take it LIVE for your users. Congratulations!
